1978 Skyhawk

Tell everyone about the progress of your project! Please respect people's threads.

Moderator: Moderators

1978 Skyhawk

Postby Z-type » Wed Sep 26, 2012 10:19 pm

Hello everyone,

I originally started this thread on LesabreT.com before I joined the H-body community here, so these are post complied together into one. I'll edit it to make more sense, but I don't promise that it still will lol.

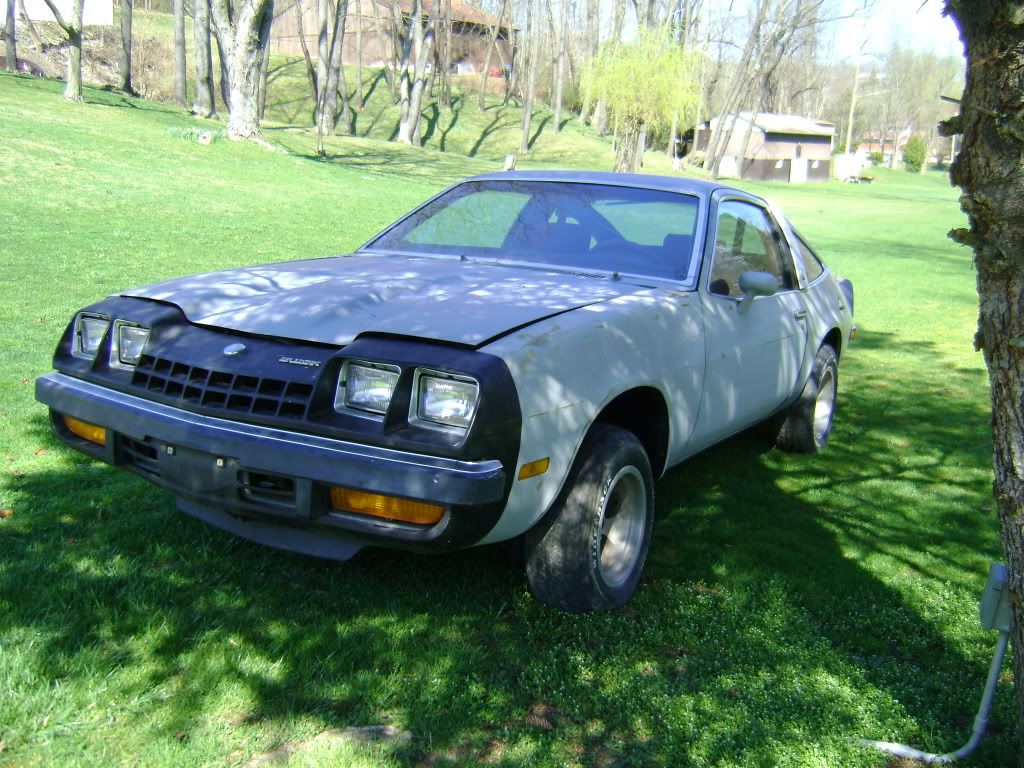
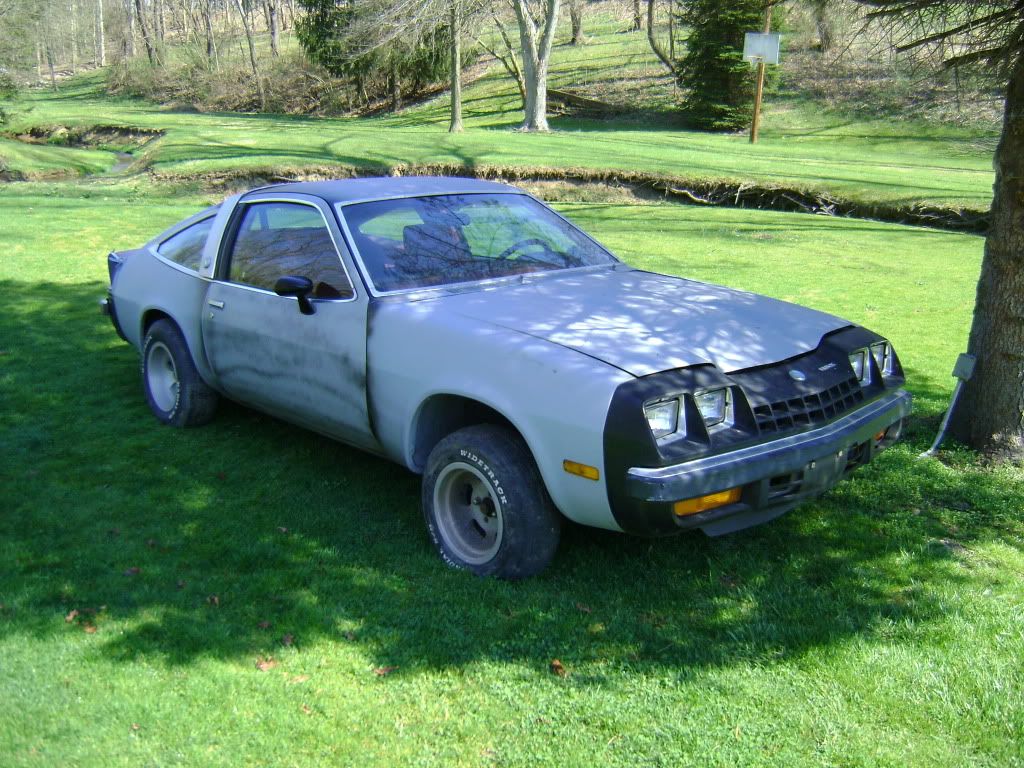
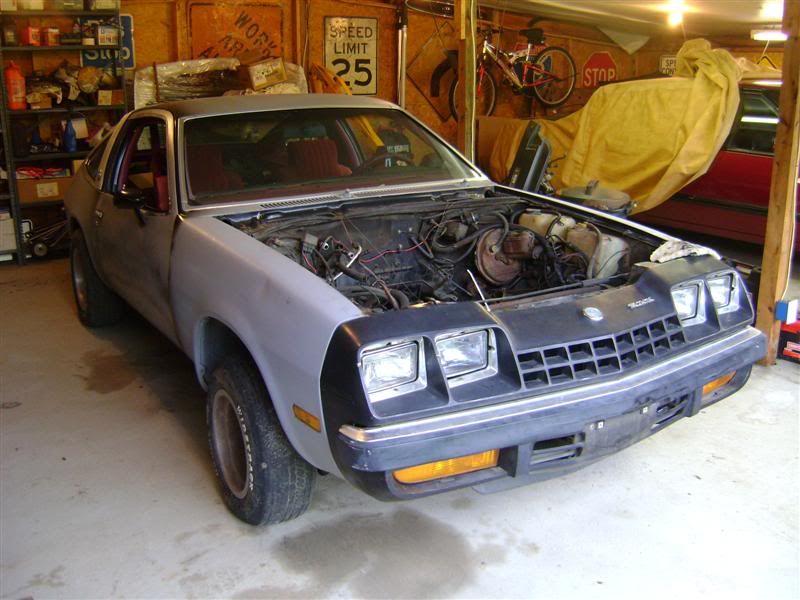
I'm bring another project thread to you. My dad has been looking for a '77-'78 Skyhawk for some time now, the opportunity struck, and he pulled the trigger.

There's no significant rust that we can find, so it's in good solid shape. The previous owner was going to cut it up to make a drag car, but decided it was too nice and sold it to us. It needs a bunch of little things, but nothing out of the ordinary for a car of it's vintage. I'll be the first to admit I know almost nothing about these cars as a specific model, but it seems like a pretty easy car to work on!

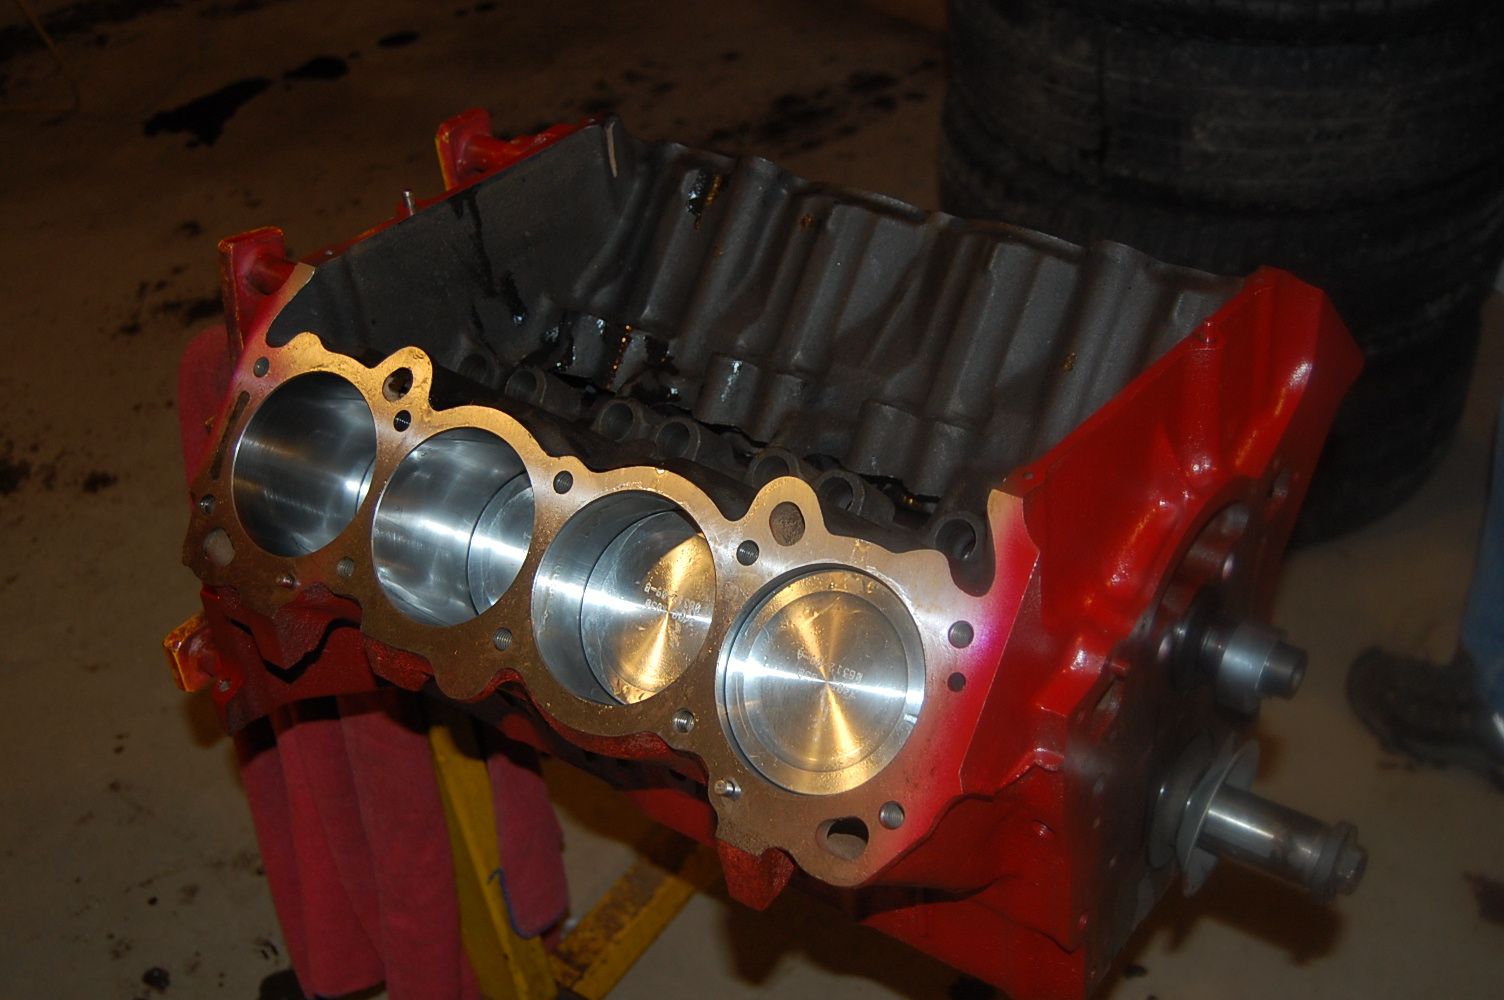
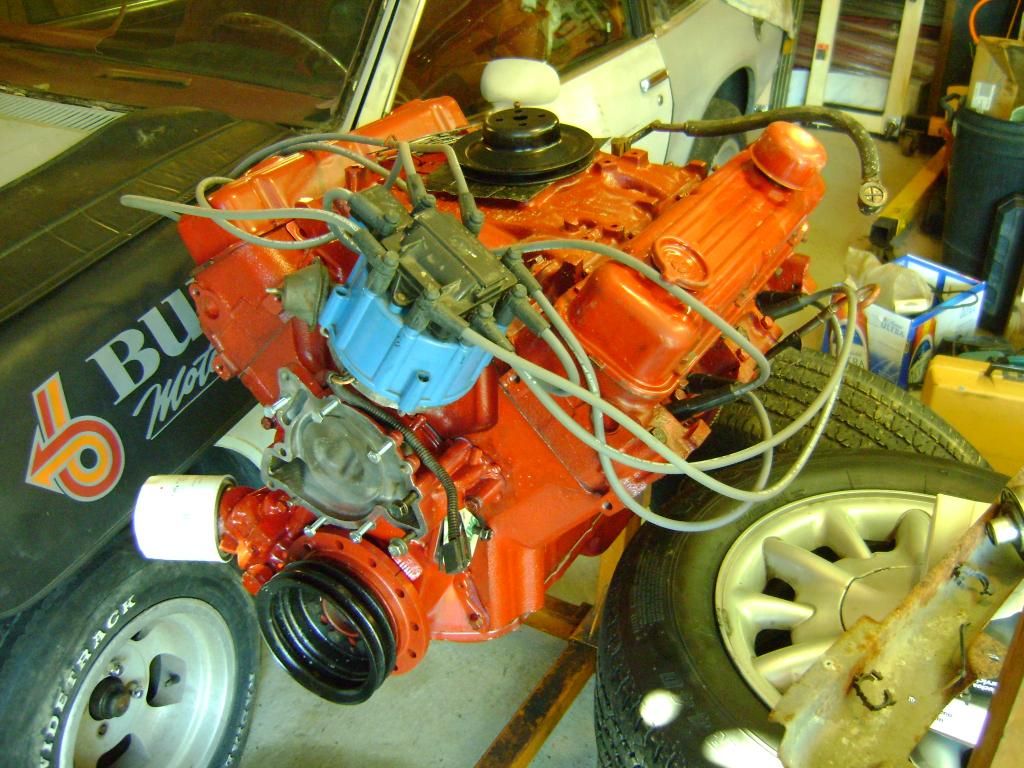
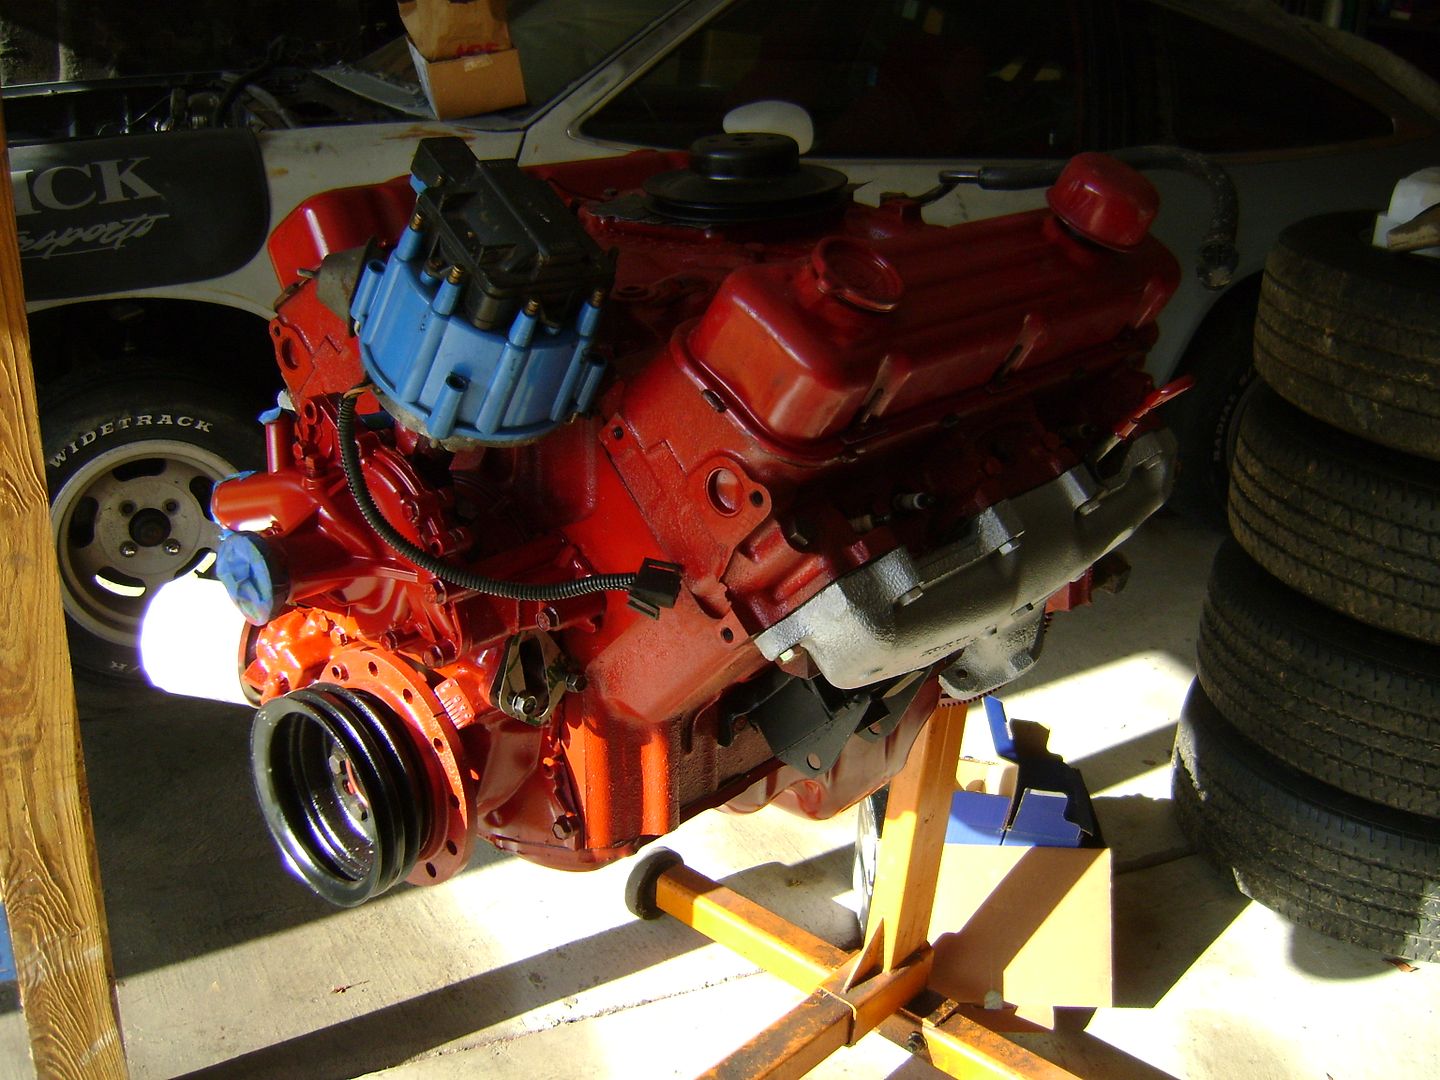
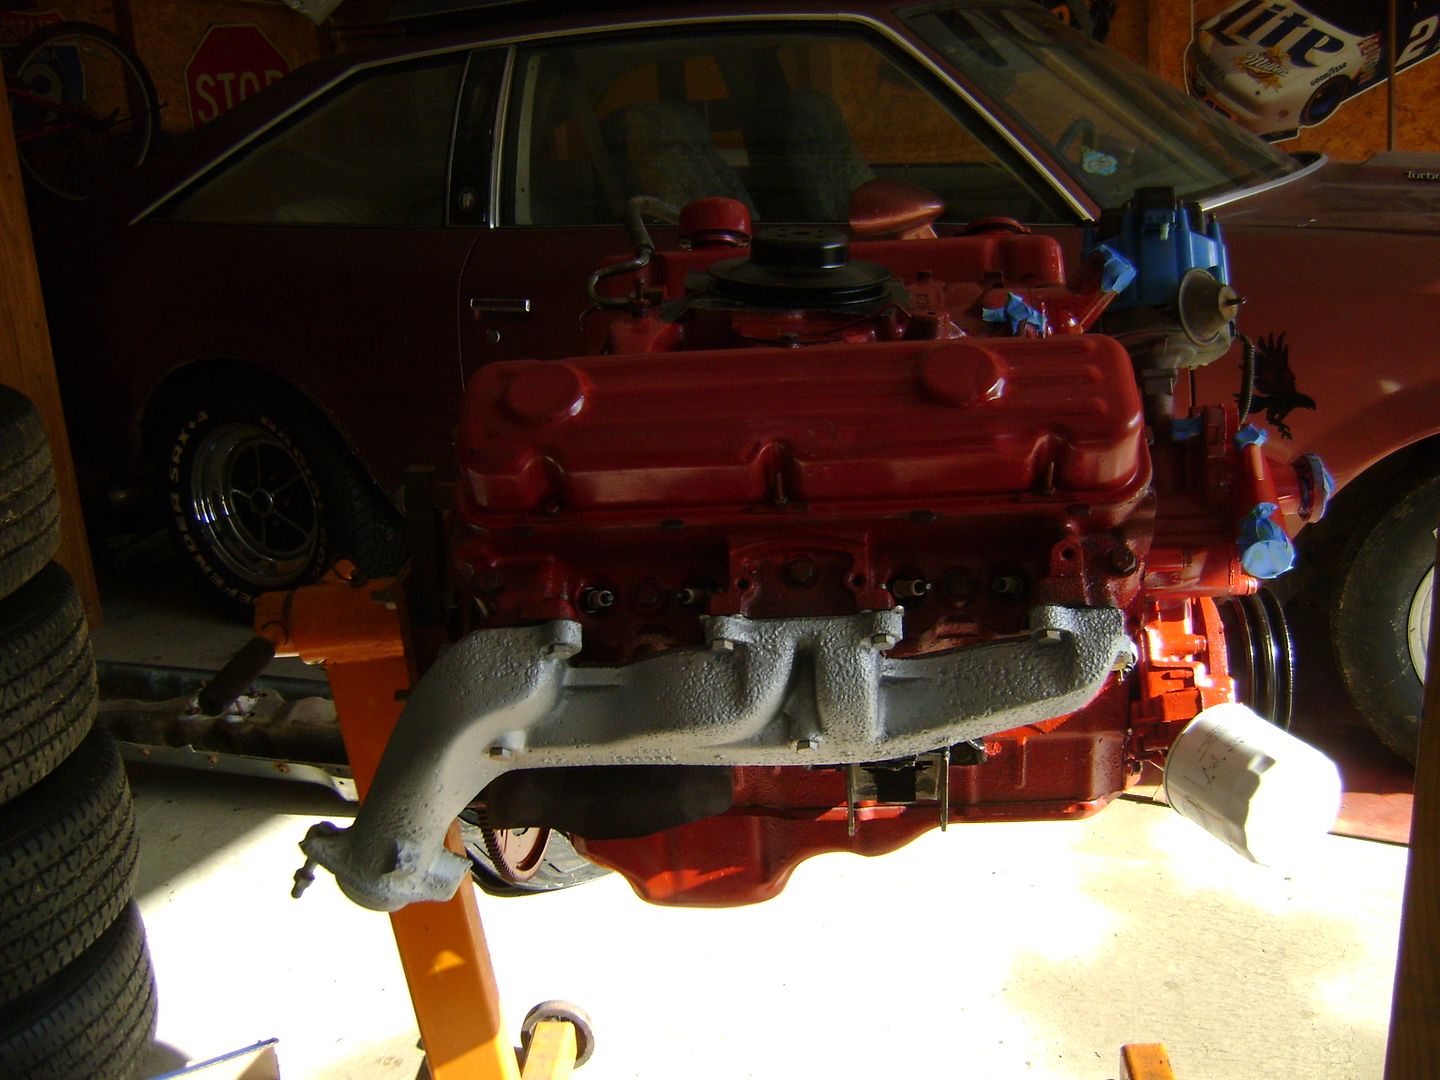
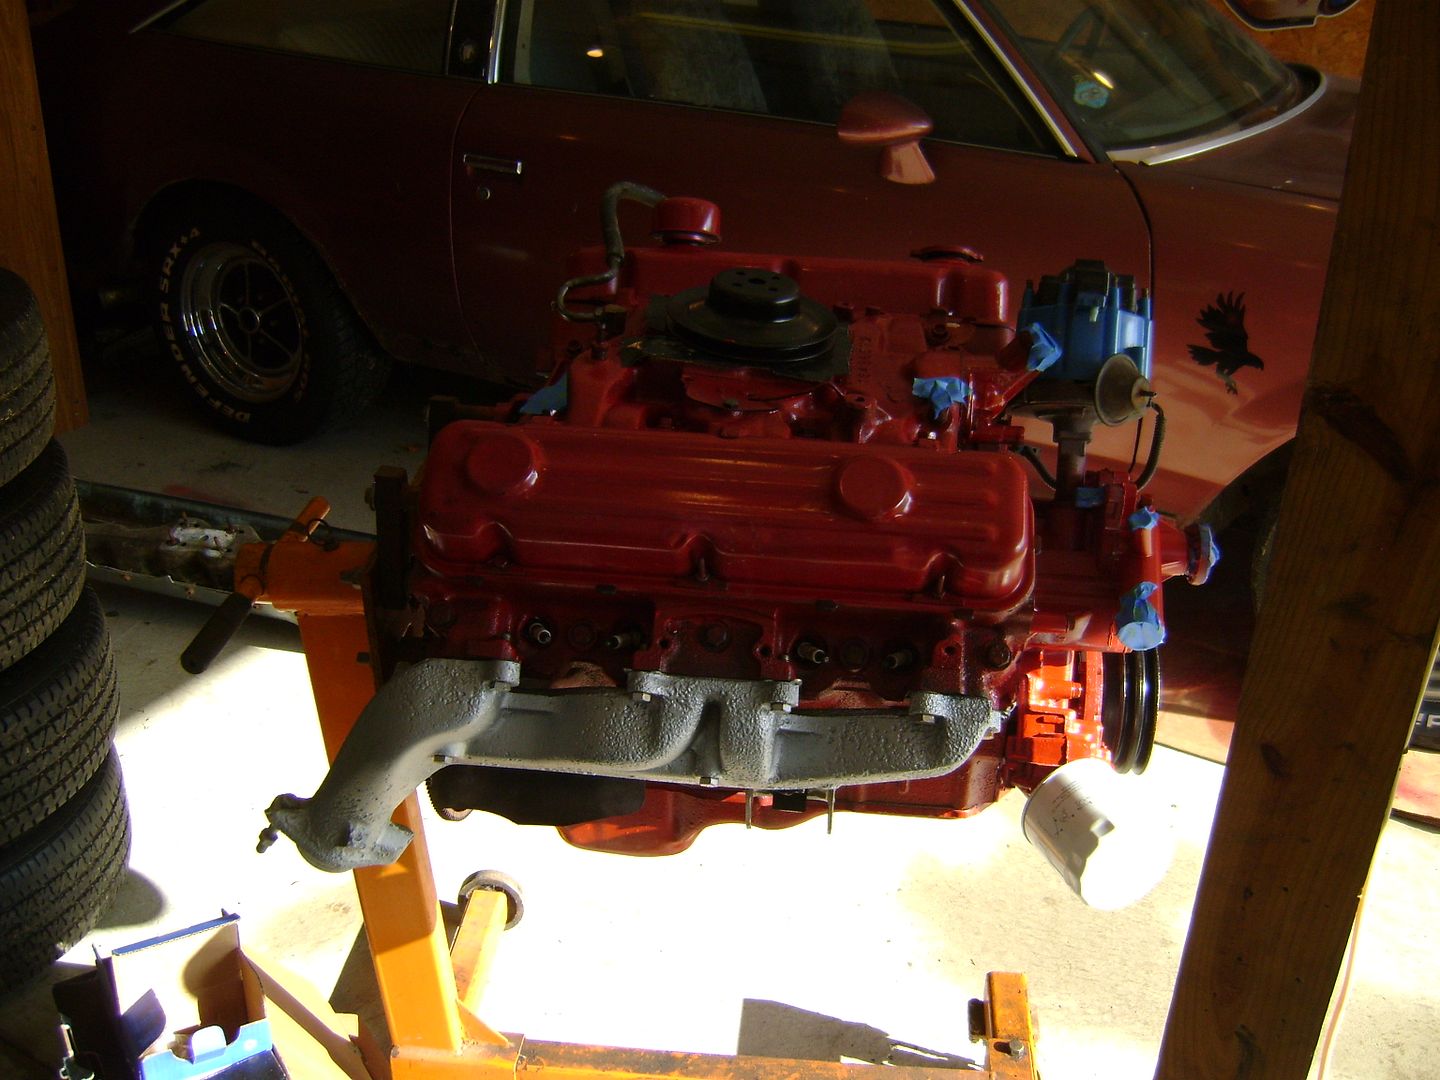
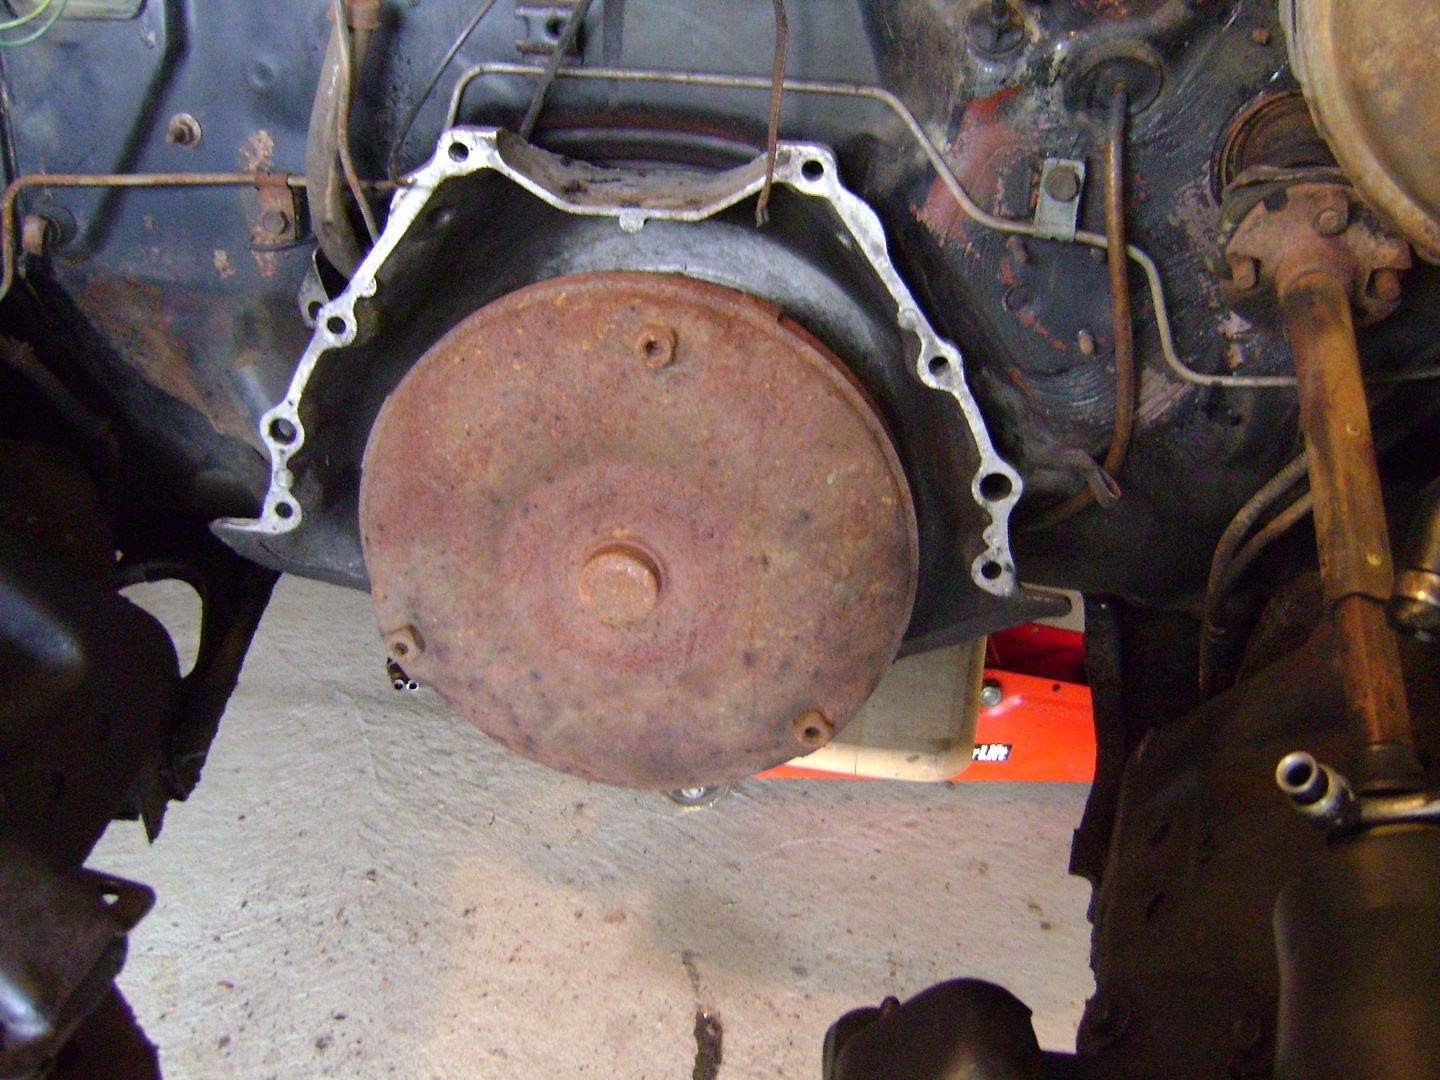
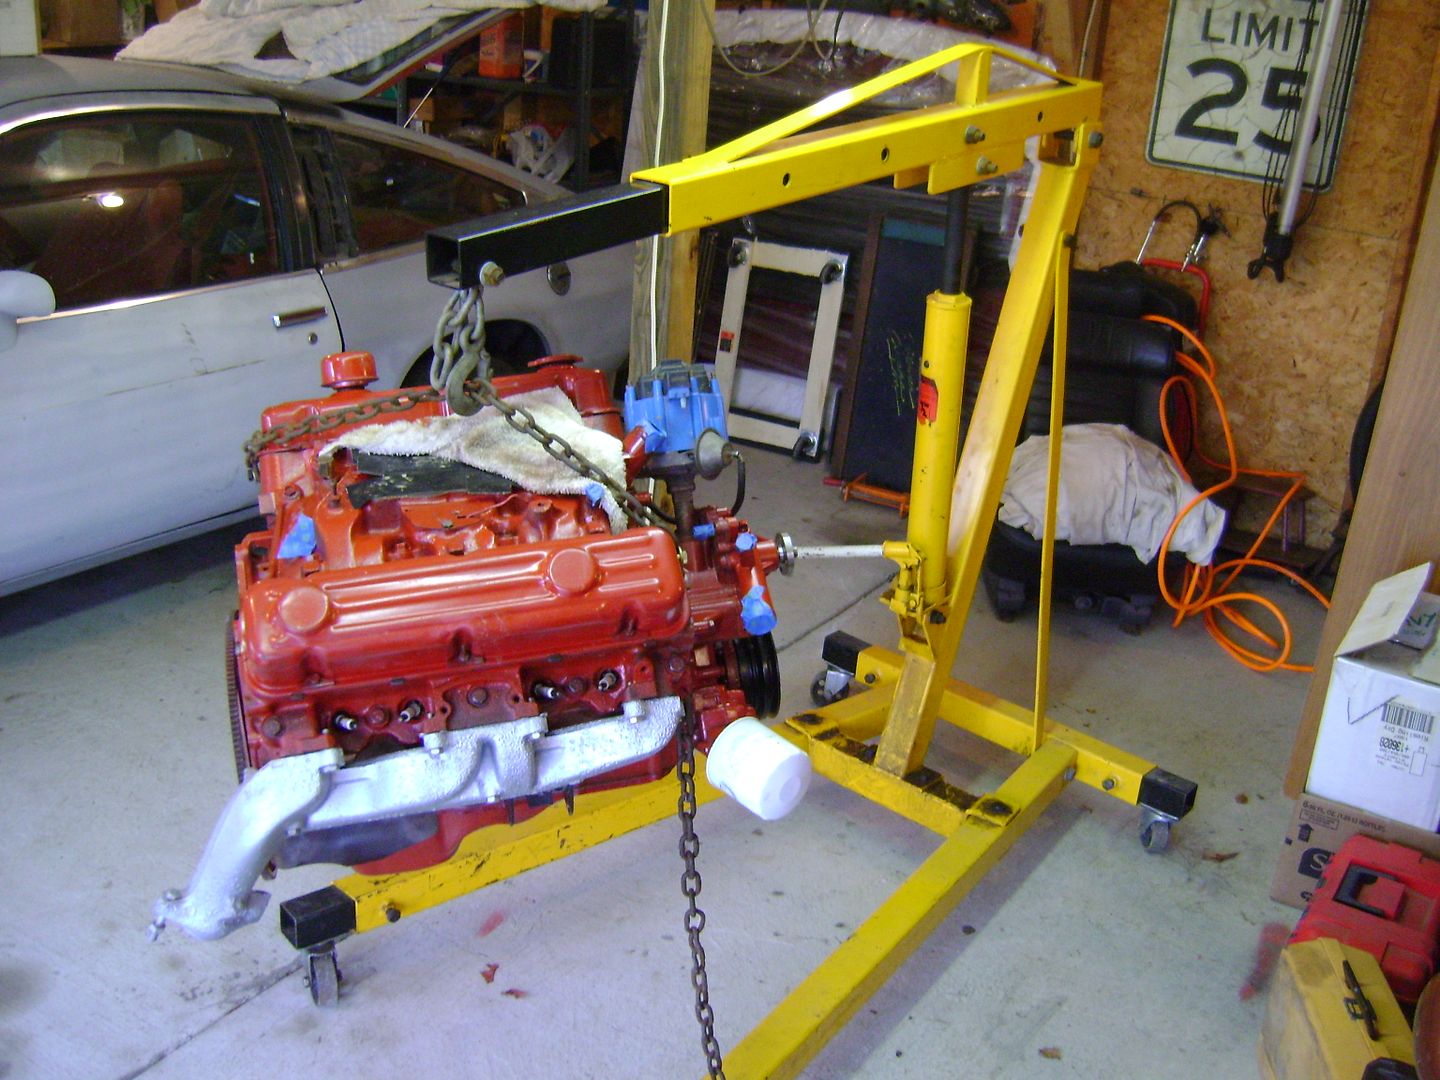
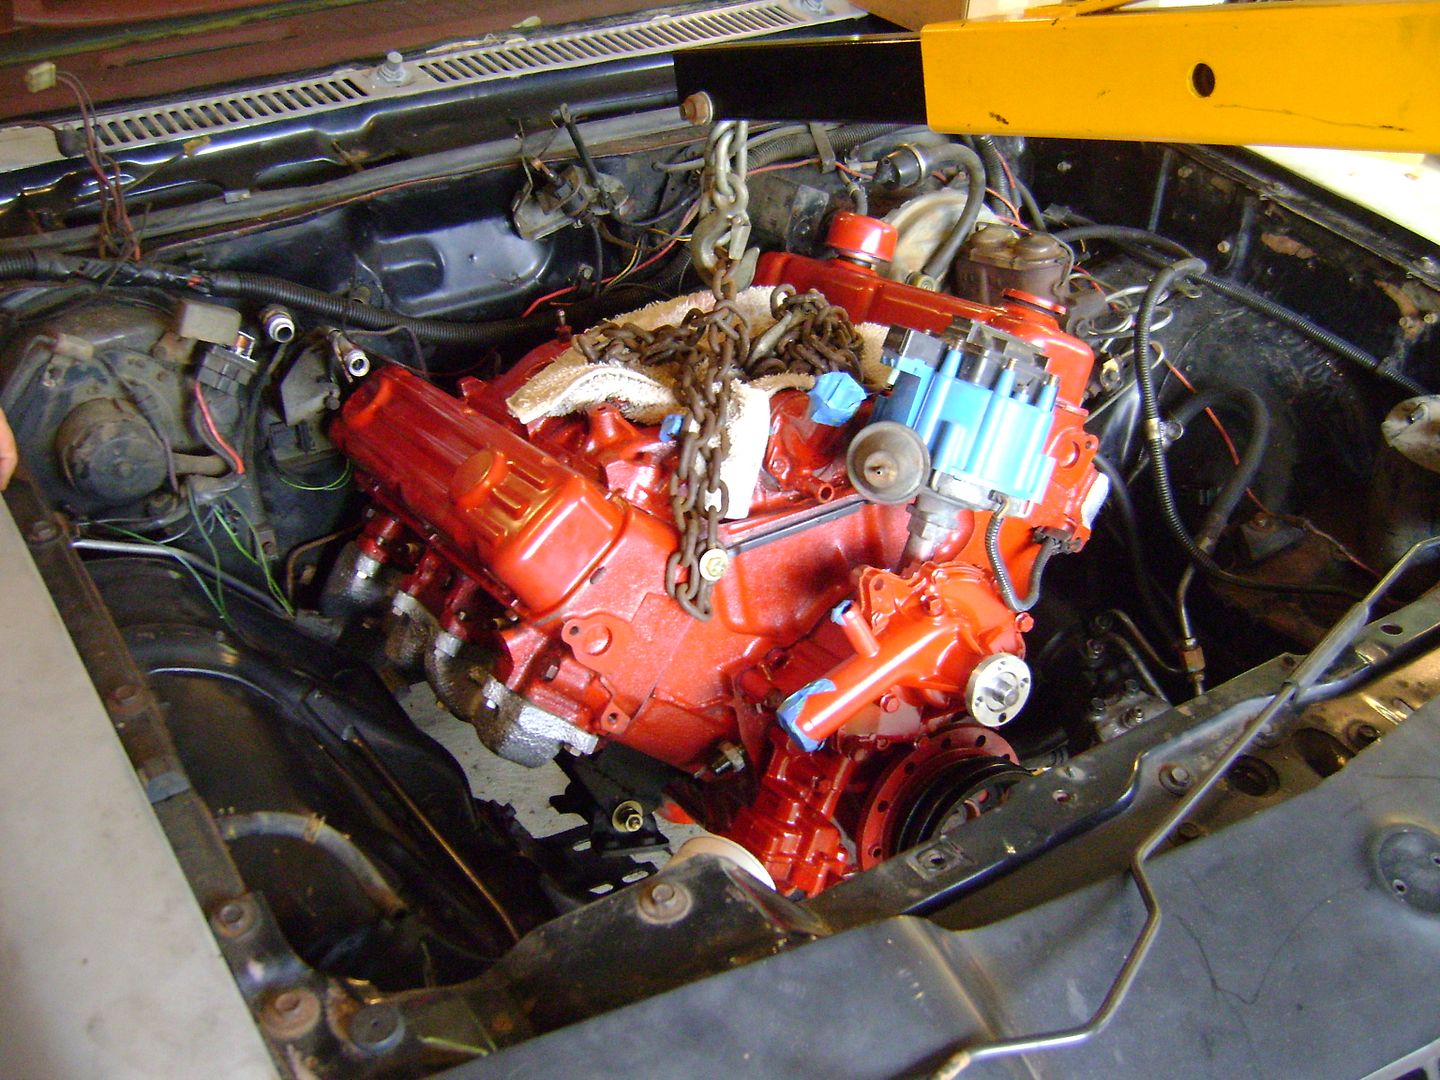
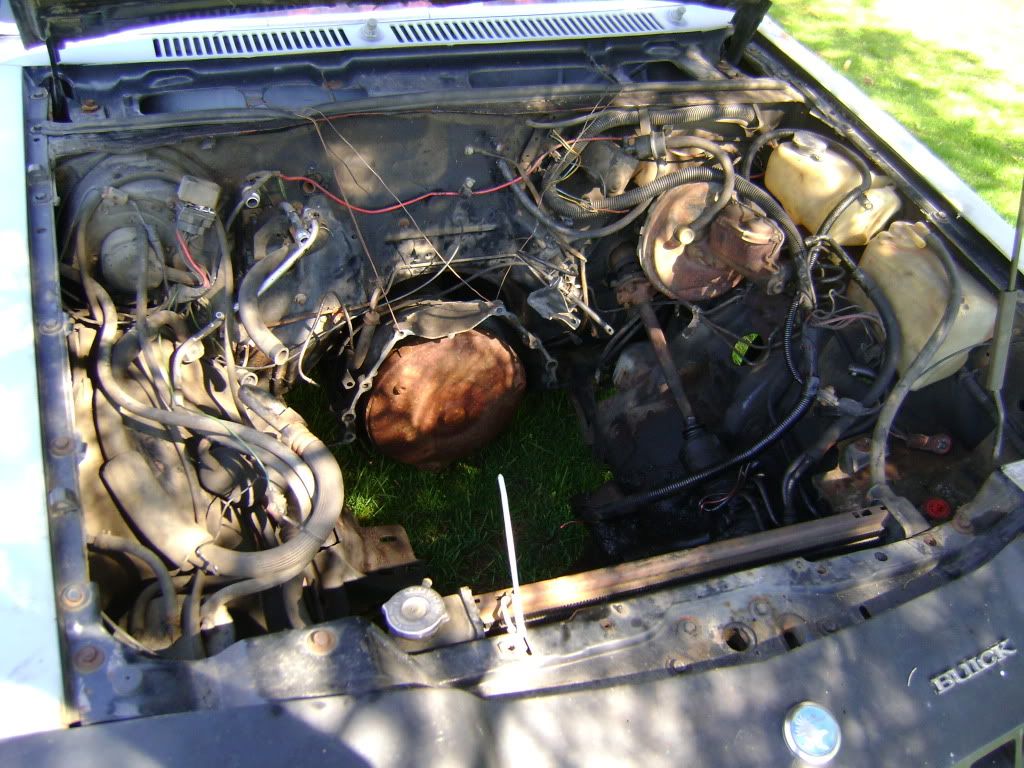
The previous owner removed the engine already, but left the trans in. When he sent us the car we just asked for all the 3.8 V6 accessories because we plan to put in our high-compression Buick 350 in it...

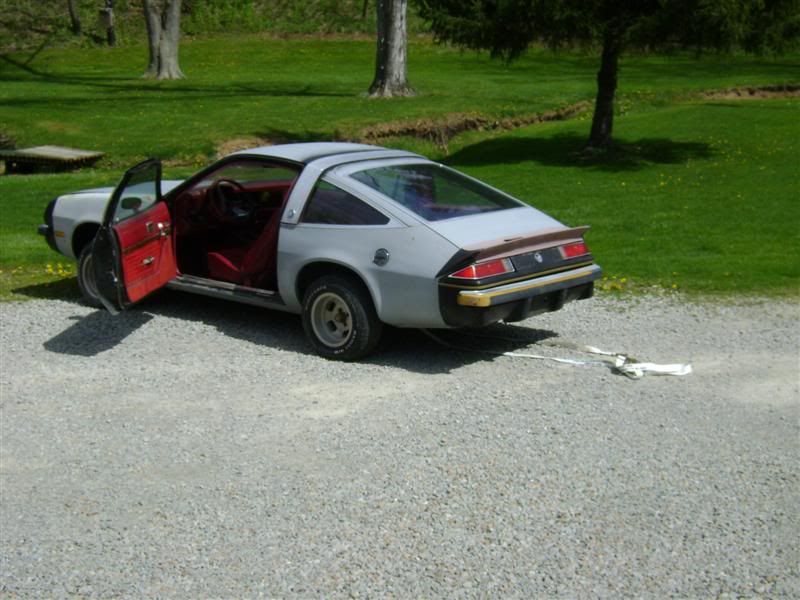
But enough talk, here's pictures!


Image

Image

Image

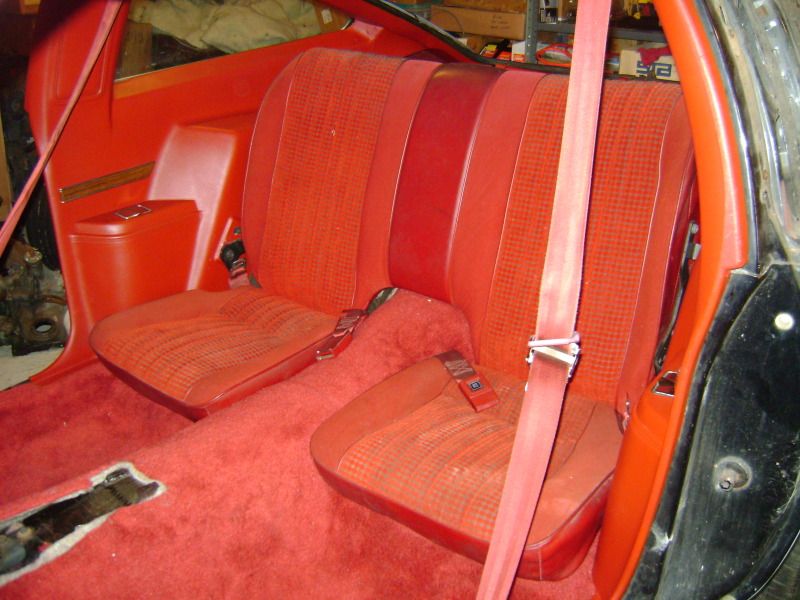
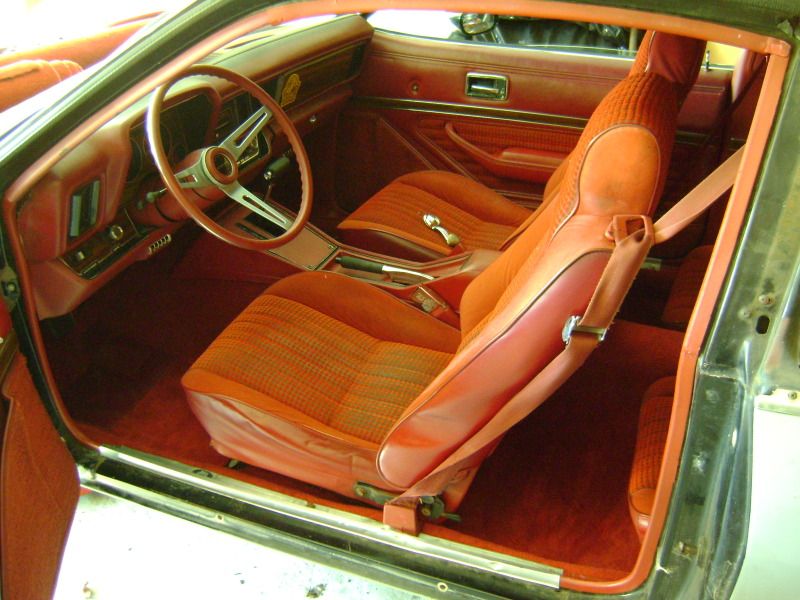
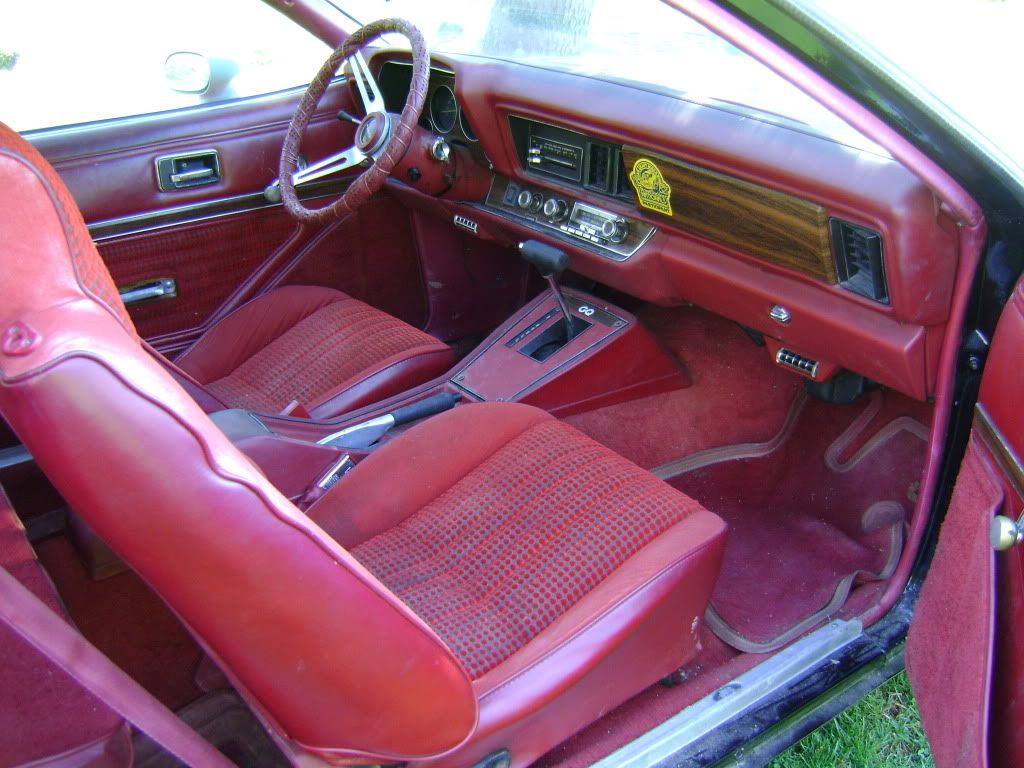
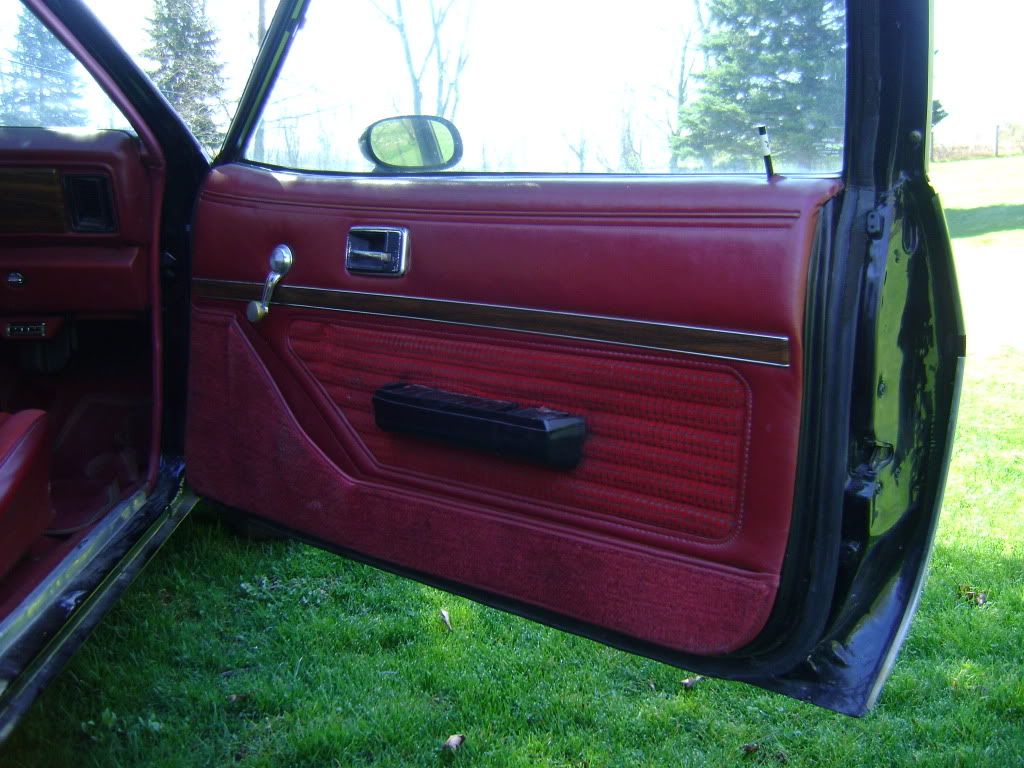
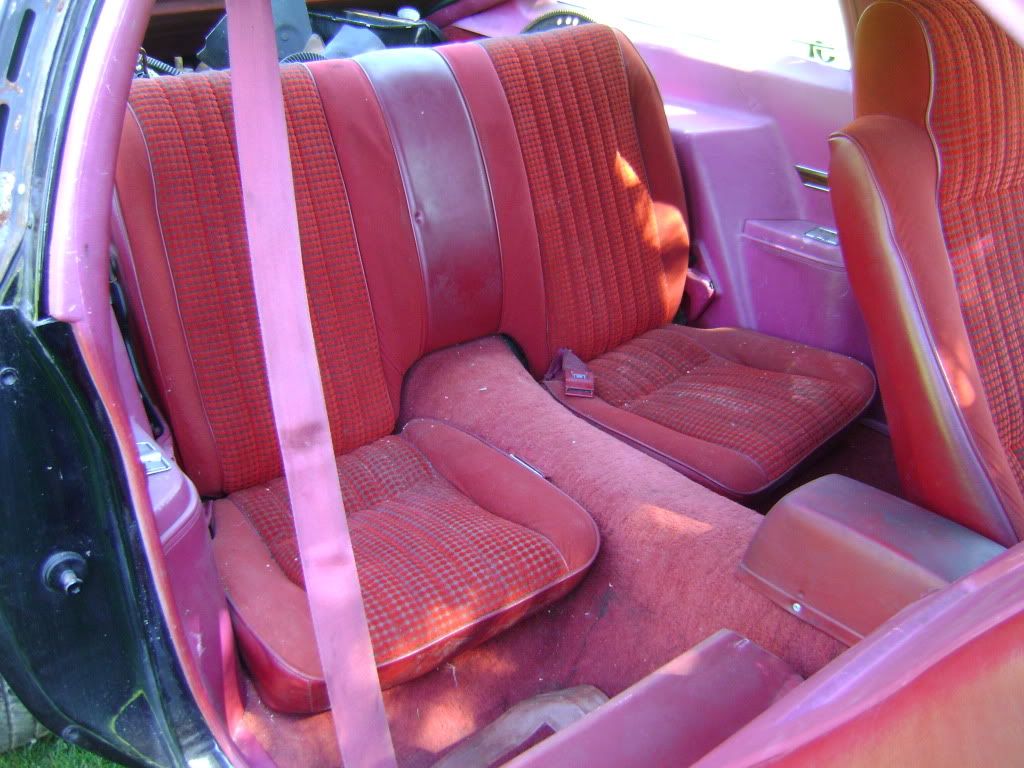
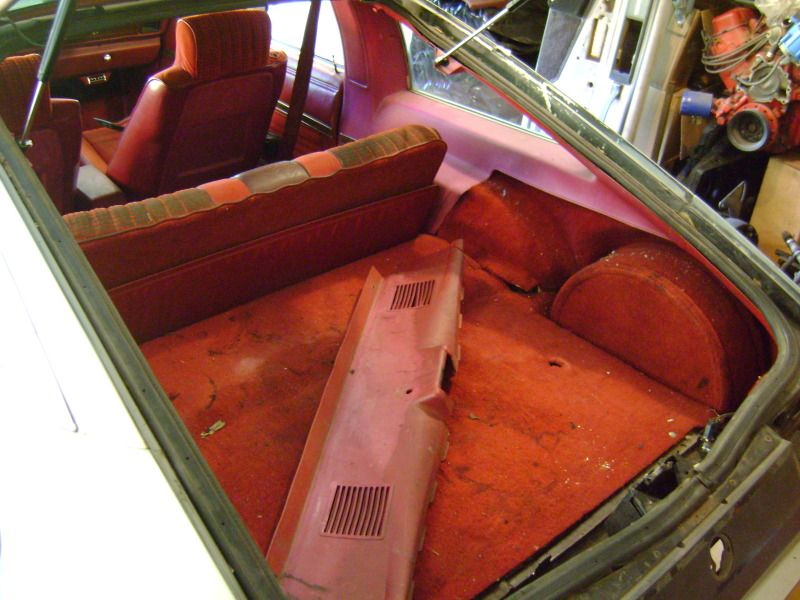
Interior is in good shape. Just dirty. Needs those stickers removed, door handles, and rear hatch struts.
Image

Image


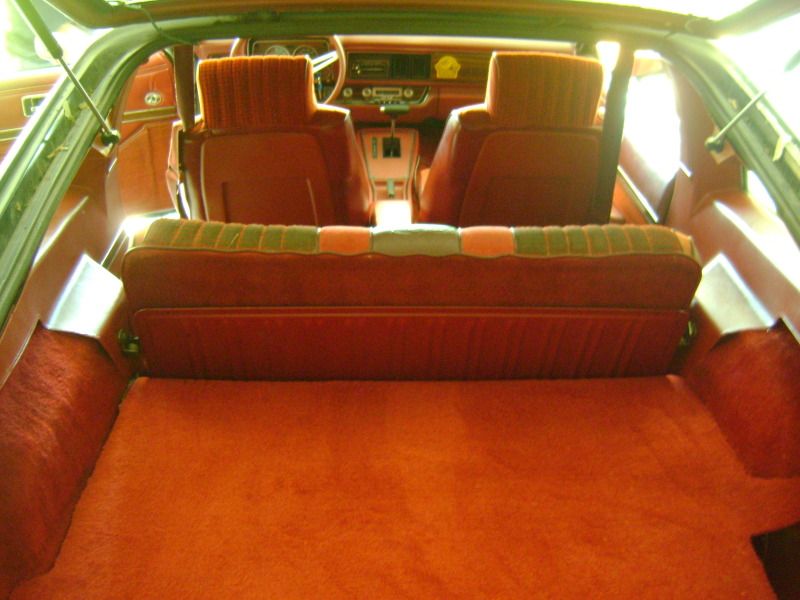
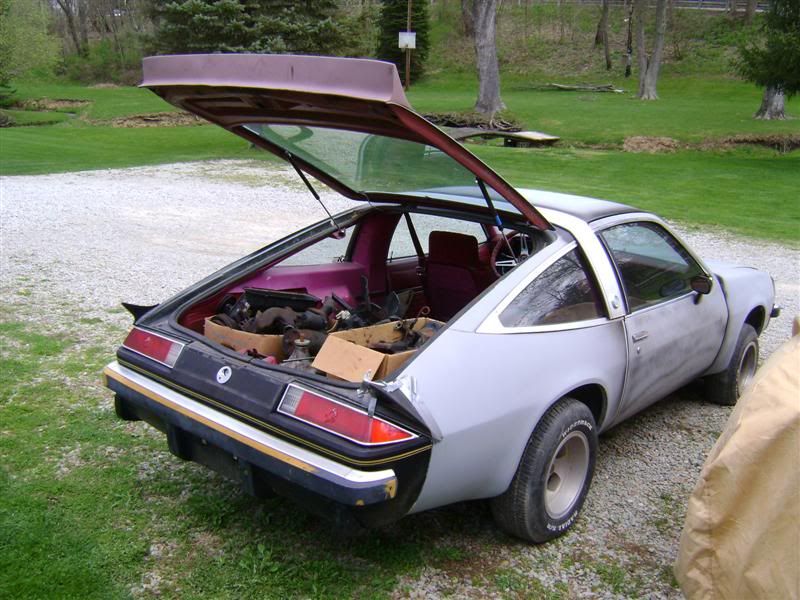
The rear seats fold down to make a huuuuuuuge trunk. I didn't get a picture of it, but there's a ton of room once they're folded down.
Image

Image

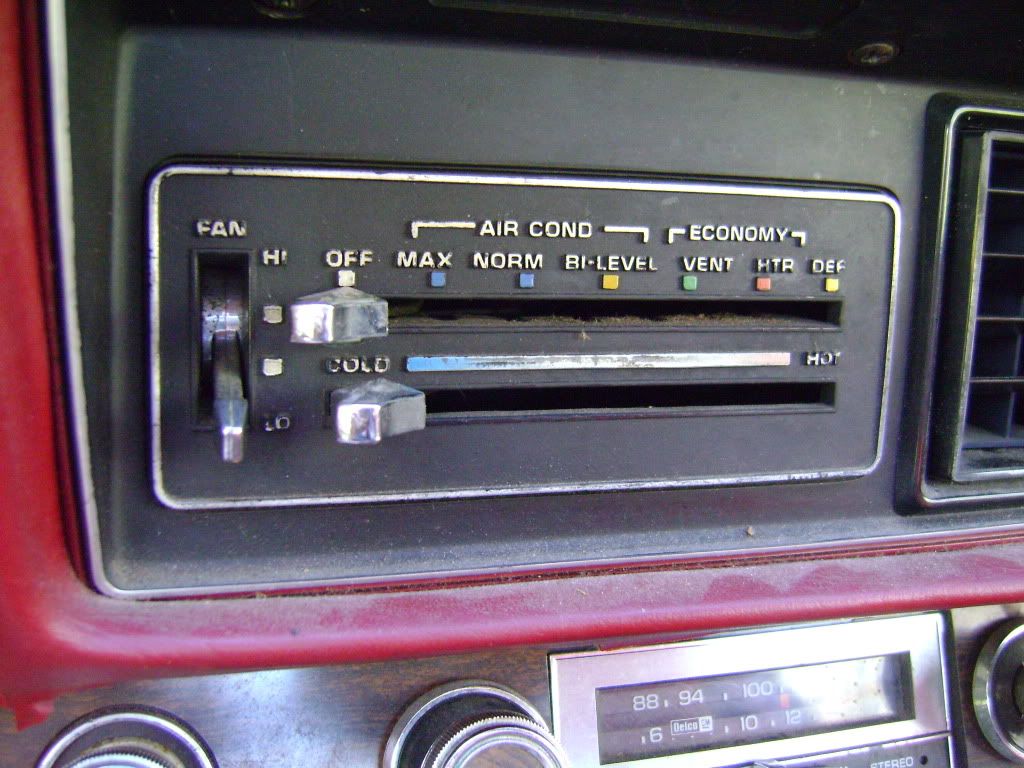
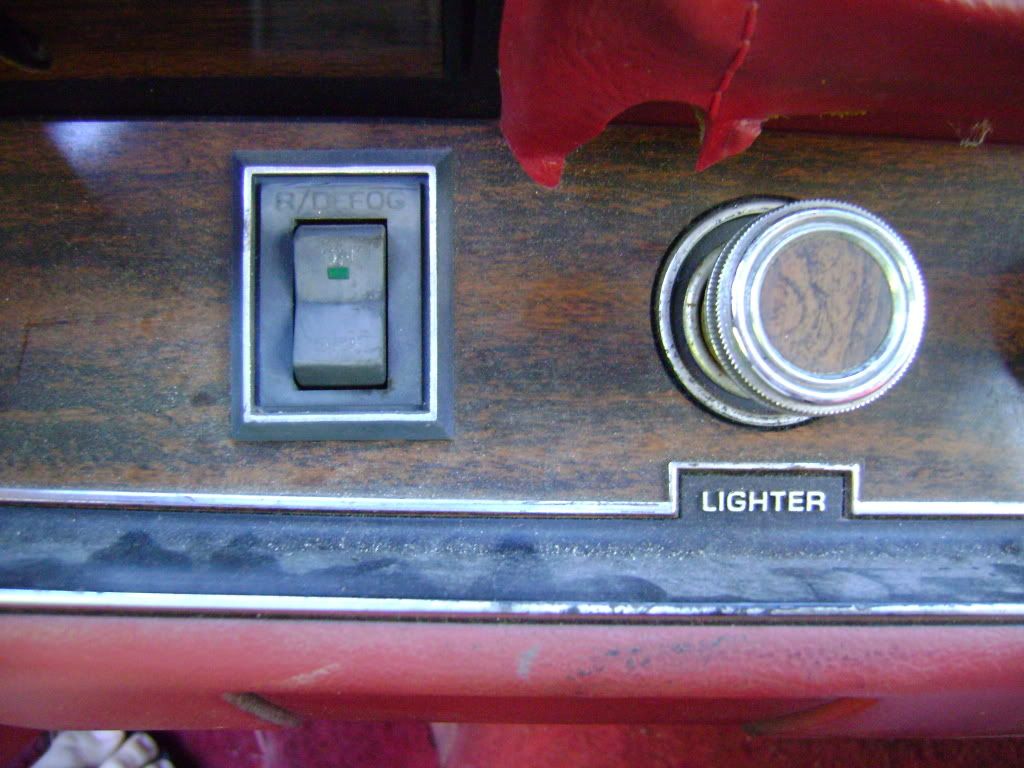
Full HVAC controls...
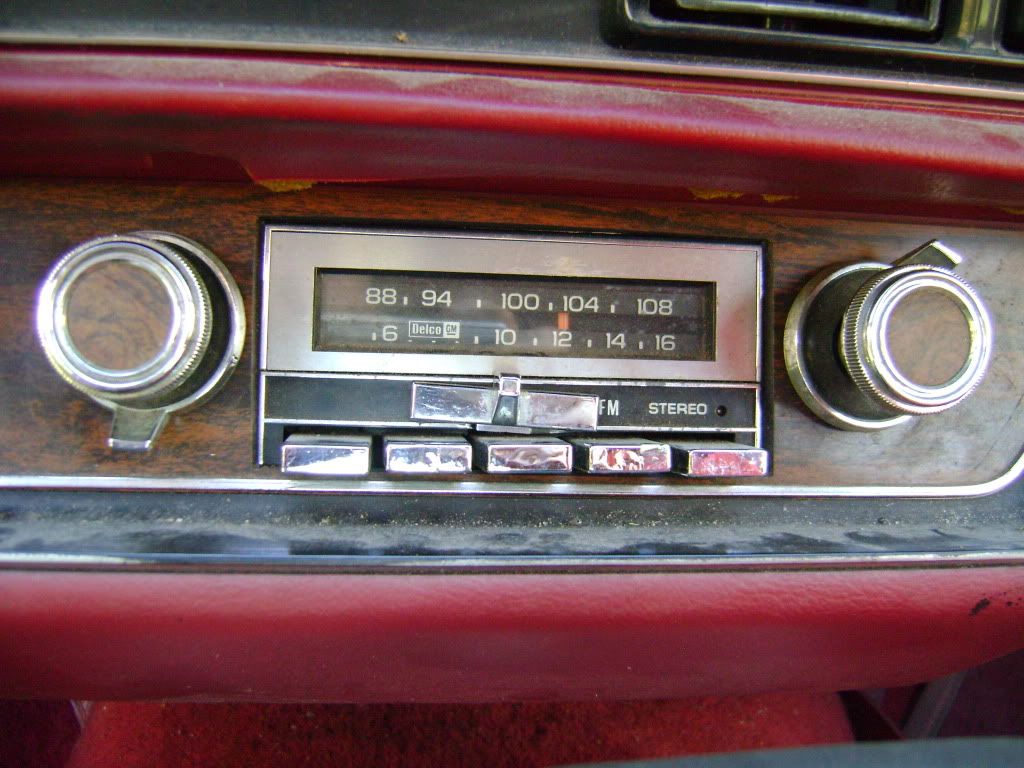
Image

Working AM/FM radio
Image

Rear hatch window defog! I don't expect this to work, but the previous owner said it turned on when he bought the car.
Image

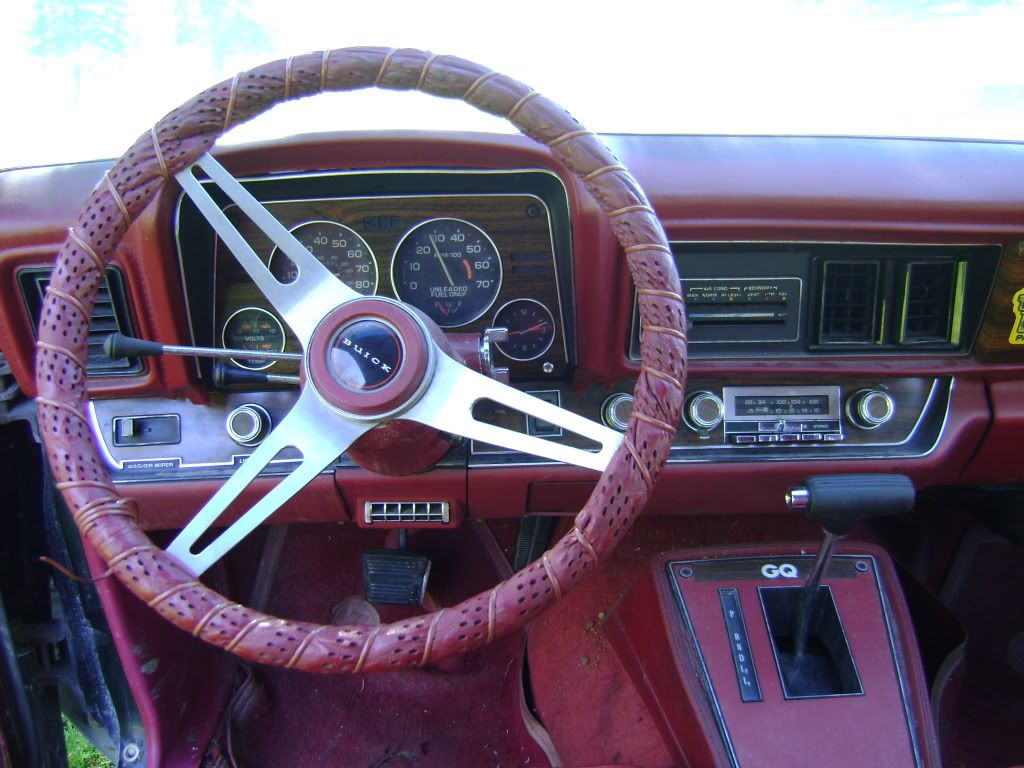
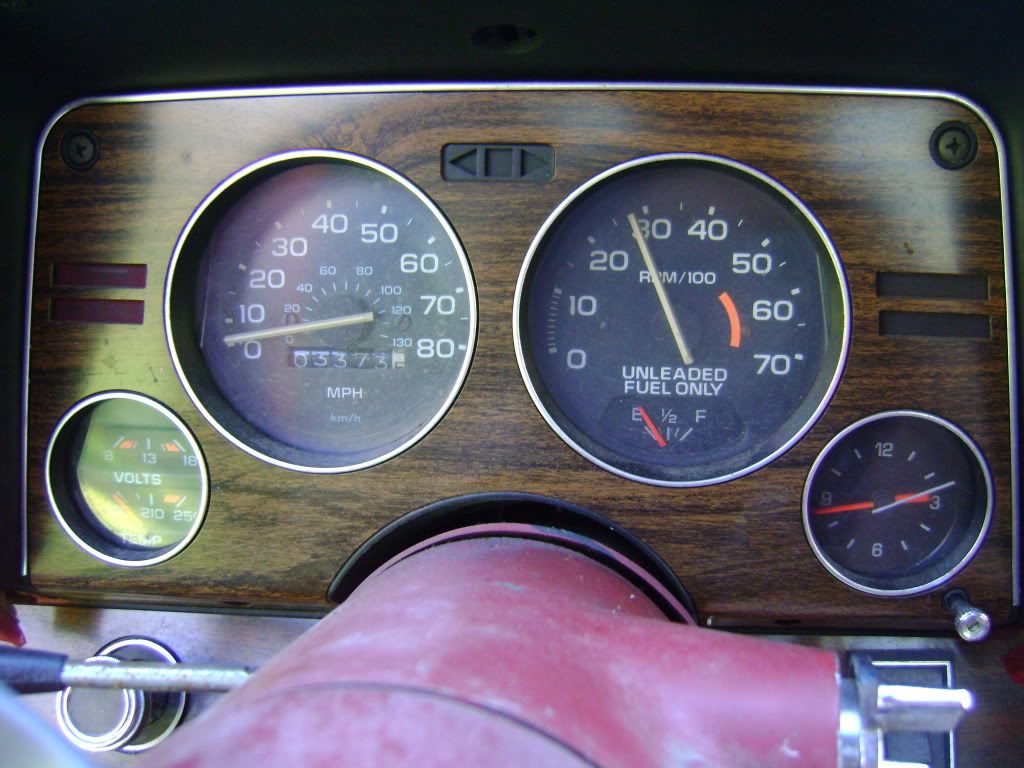
Nice gauge layout. Very easy to read.
Image

Like I mentioned, a lot of the work has been done for us :P .
Image

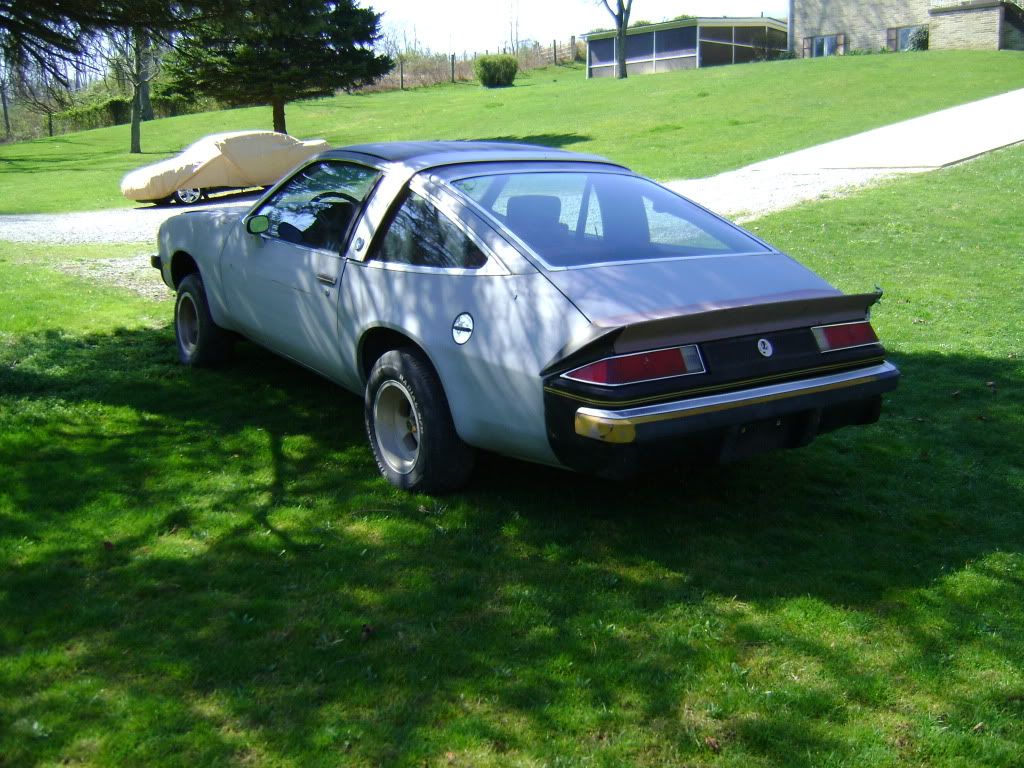
Rear spoiler that I'm not convinced came on the car from the factory.
Image

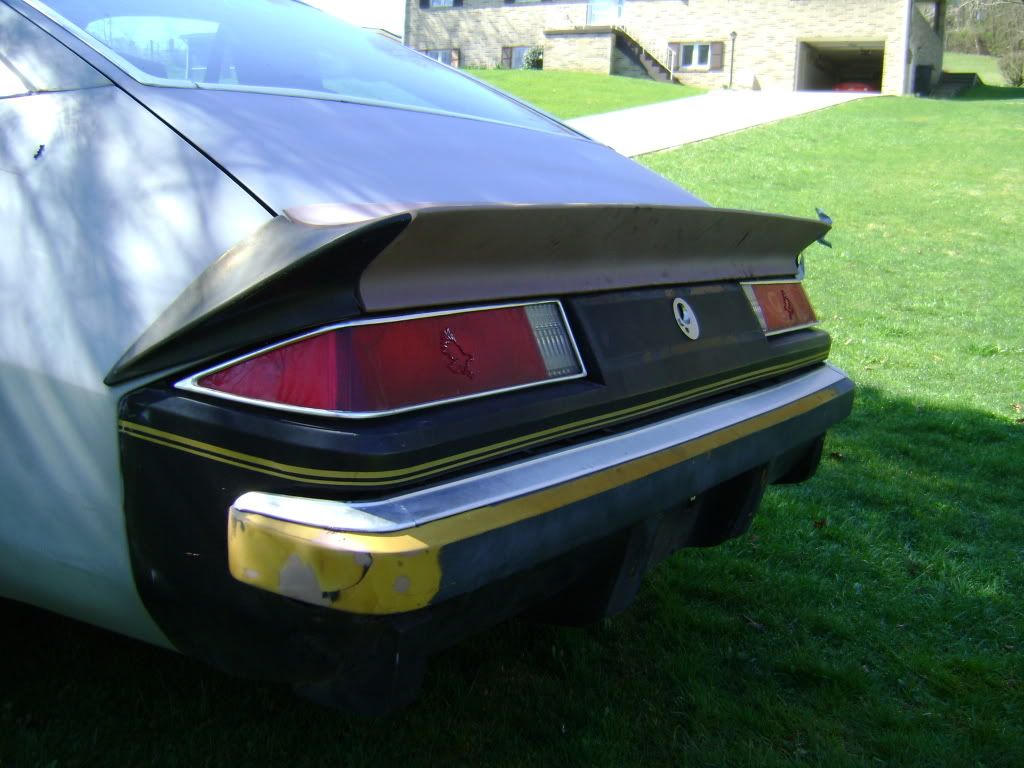
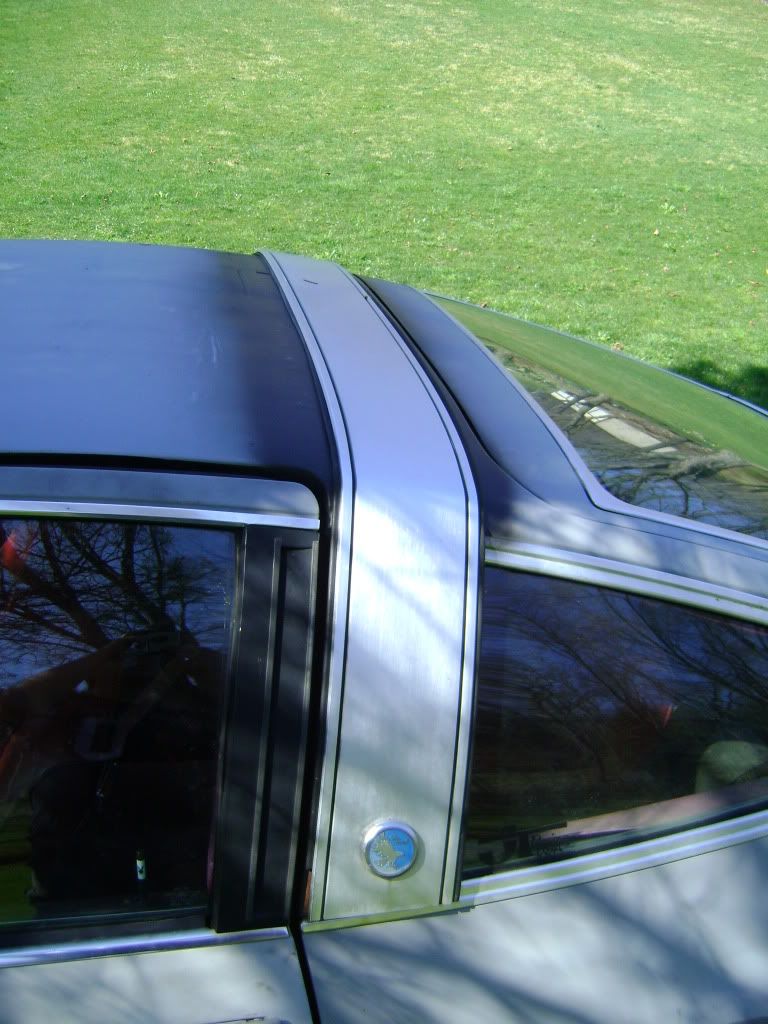
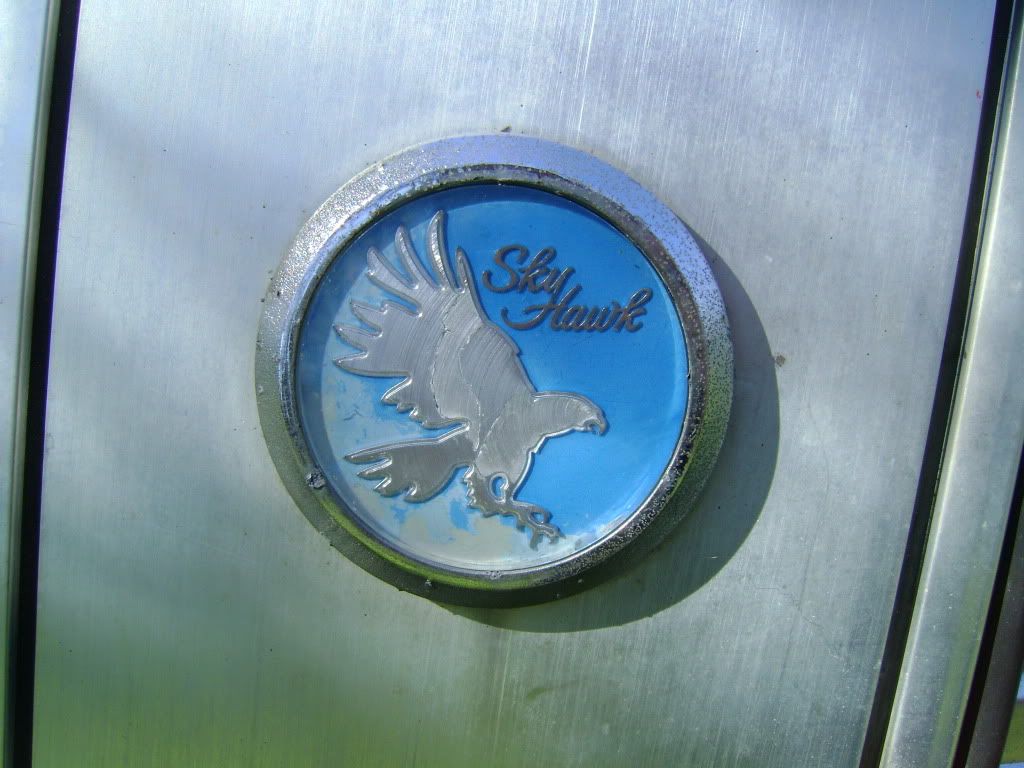
Not to mention my favorite part of the car, the targa strip.
Image

Image

/////

I ordered trunk struts from Advance and my gram was kind enough to pick them up on her way home this morning and drop them off. So the first repair to the car:

Image
Image

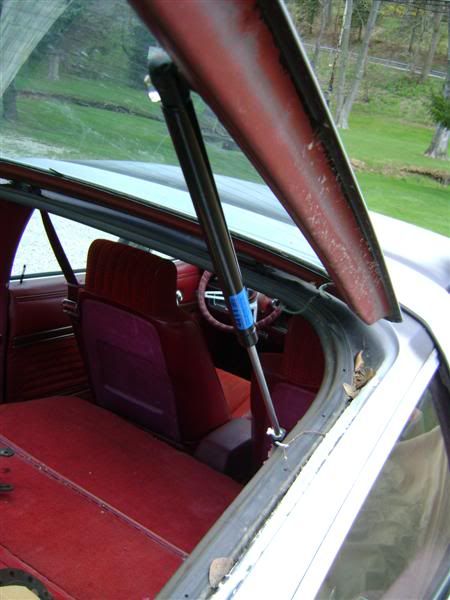
Hooray! It holds itself up now! Also, I found the latch that holds the hatch closed and pops it open. It was buried down in the bumper cover. Had I not been poking around I may not have found it for a long time! Problem is, neither key we have for the car will unlock the tumbler, so I didn't re-attach the latch yet.

/////

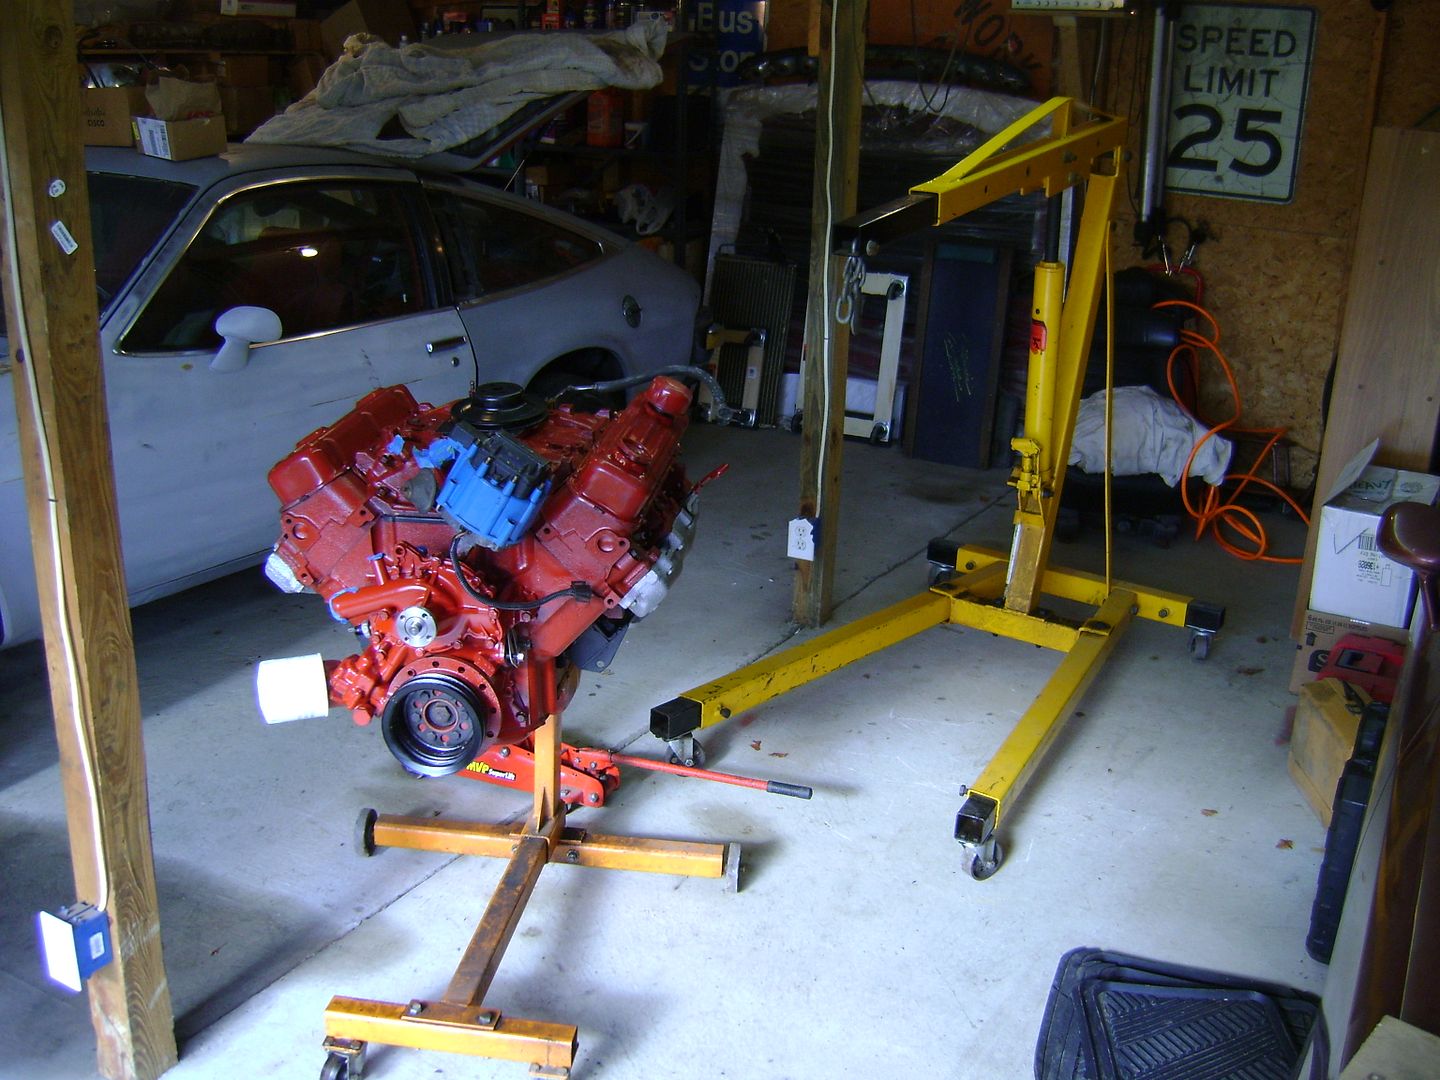
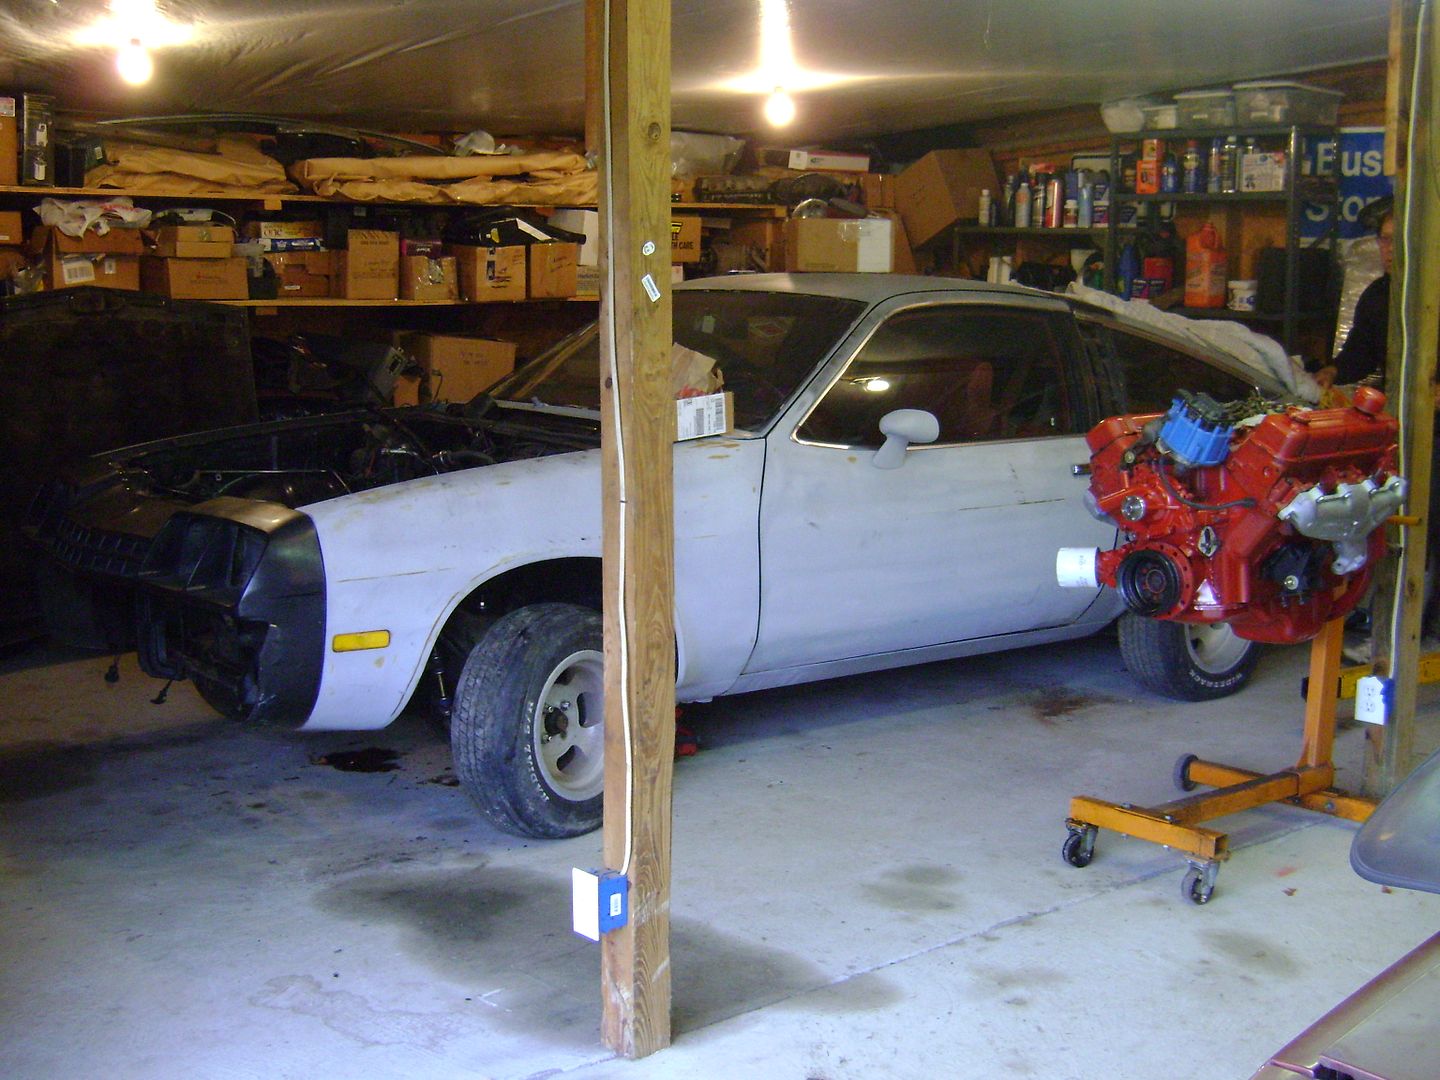
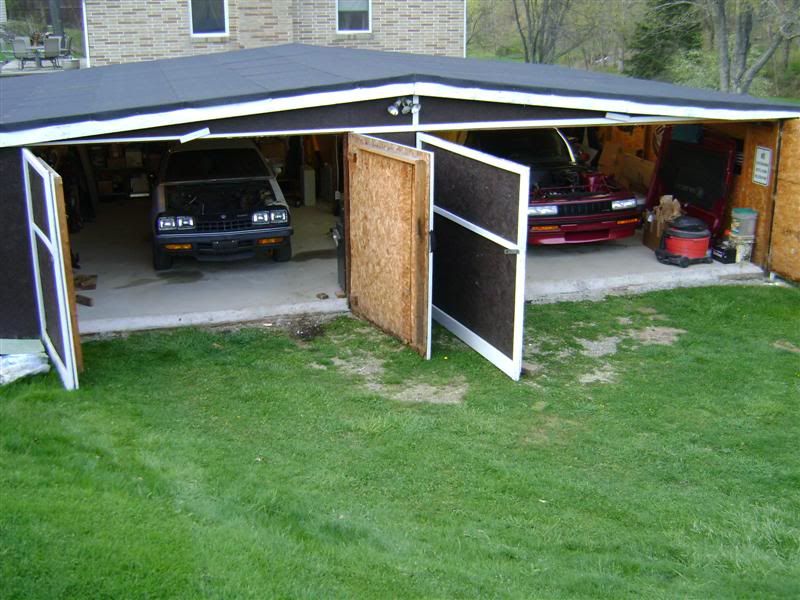
We moved the car from the bottom of the hill into what is now deemed 'The Project Garage'. You'll see why. We made some decisions too - the car will definitely have our 350 in it. Something my dad has always wanted to do, even though we really like the '85 GN powertrain idea. It's also going to be a dark DARK purple. The kind of purple that's black unless it's in the sun. So, onto pictures:

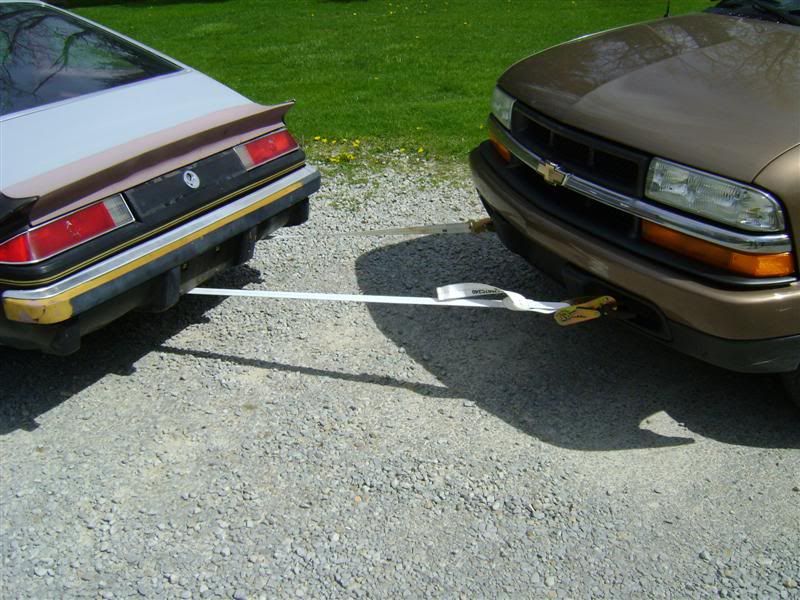
Take one Skyhawk and wrap a huge ratchet strap around the differential...
Image

Get Gram's 2003 Chevy S10...
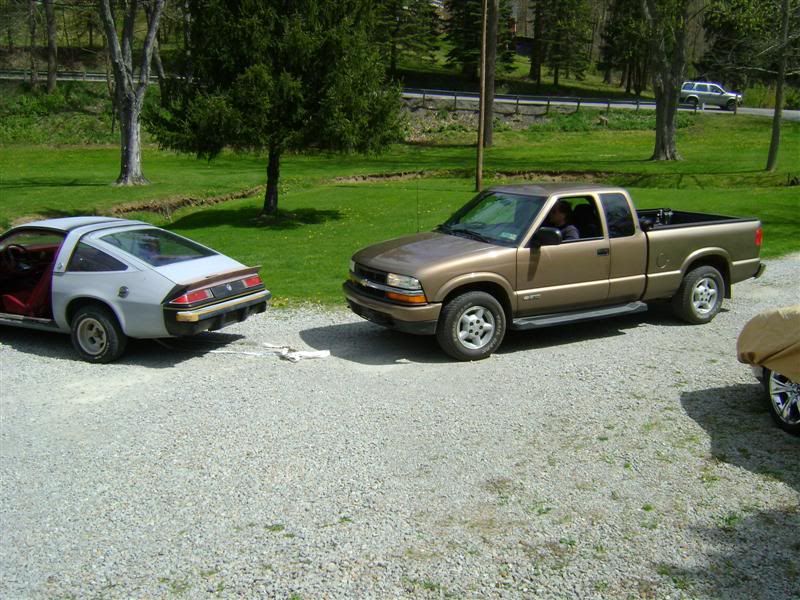
Image

And do this:
Image

We couldn't get any picture in-process because, well, the situation was dangerous enough as it was, but we end up at the top and retrieve the tractor. Next, we push it in.
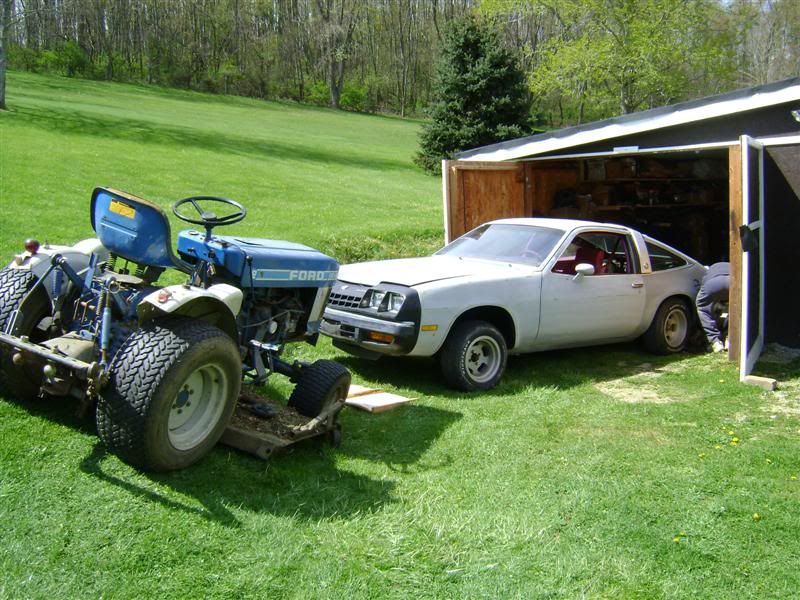
Image

Ta-da!
Image

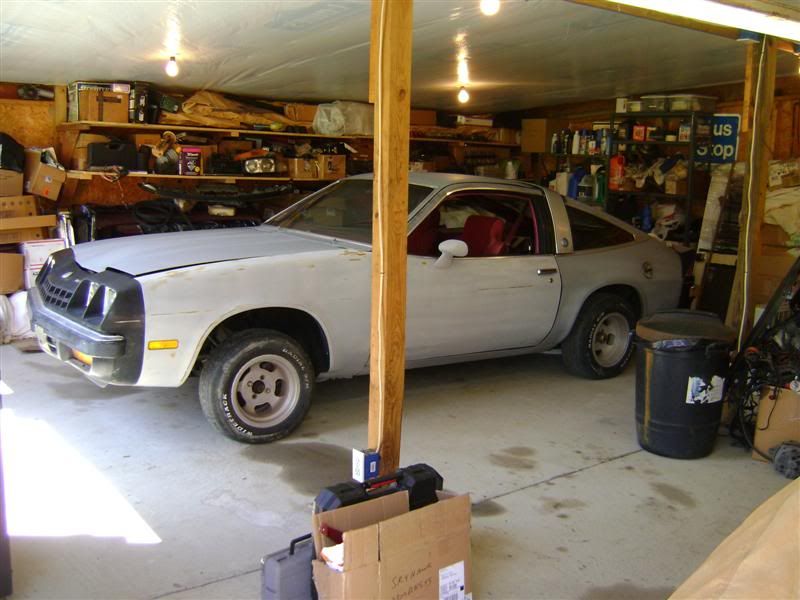
It's such a small car from what we're used to, so even though this is the 'small' side of the garage, it should do nicely for engine installation.
Image

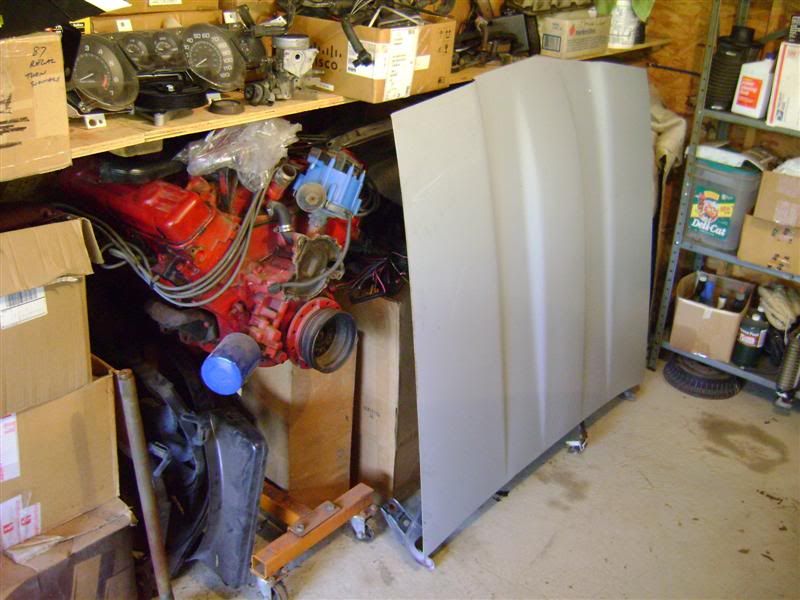
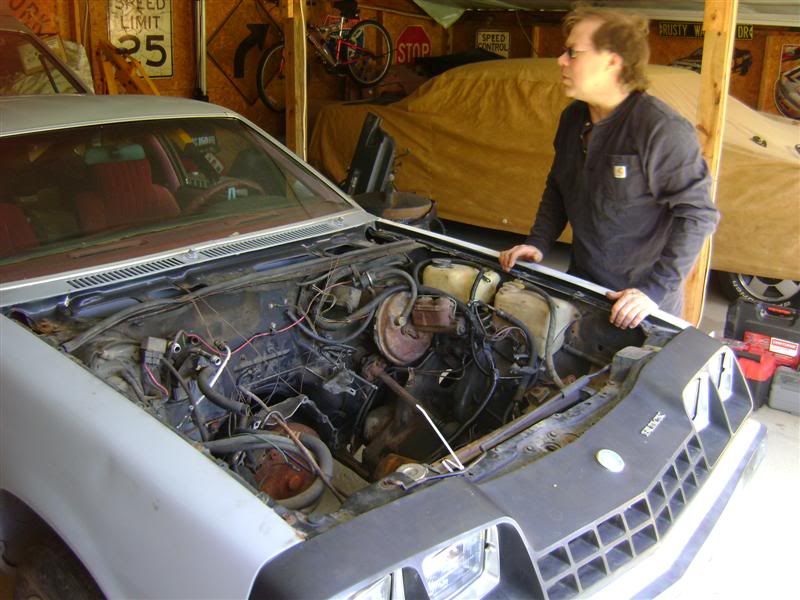
We had some time before my dad had to leave for a small job, so we starting poking around and ripping into it. We took off the hood. It has a rod to hold it up from the factory but we're going to add a gas strut.
Image

Image

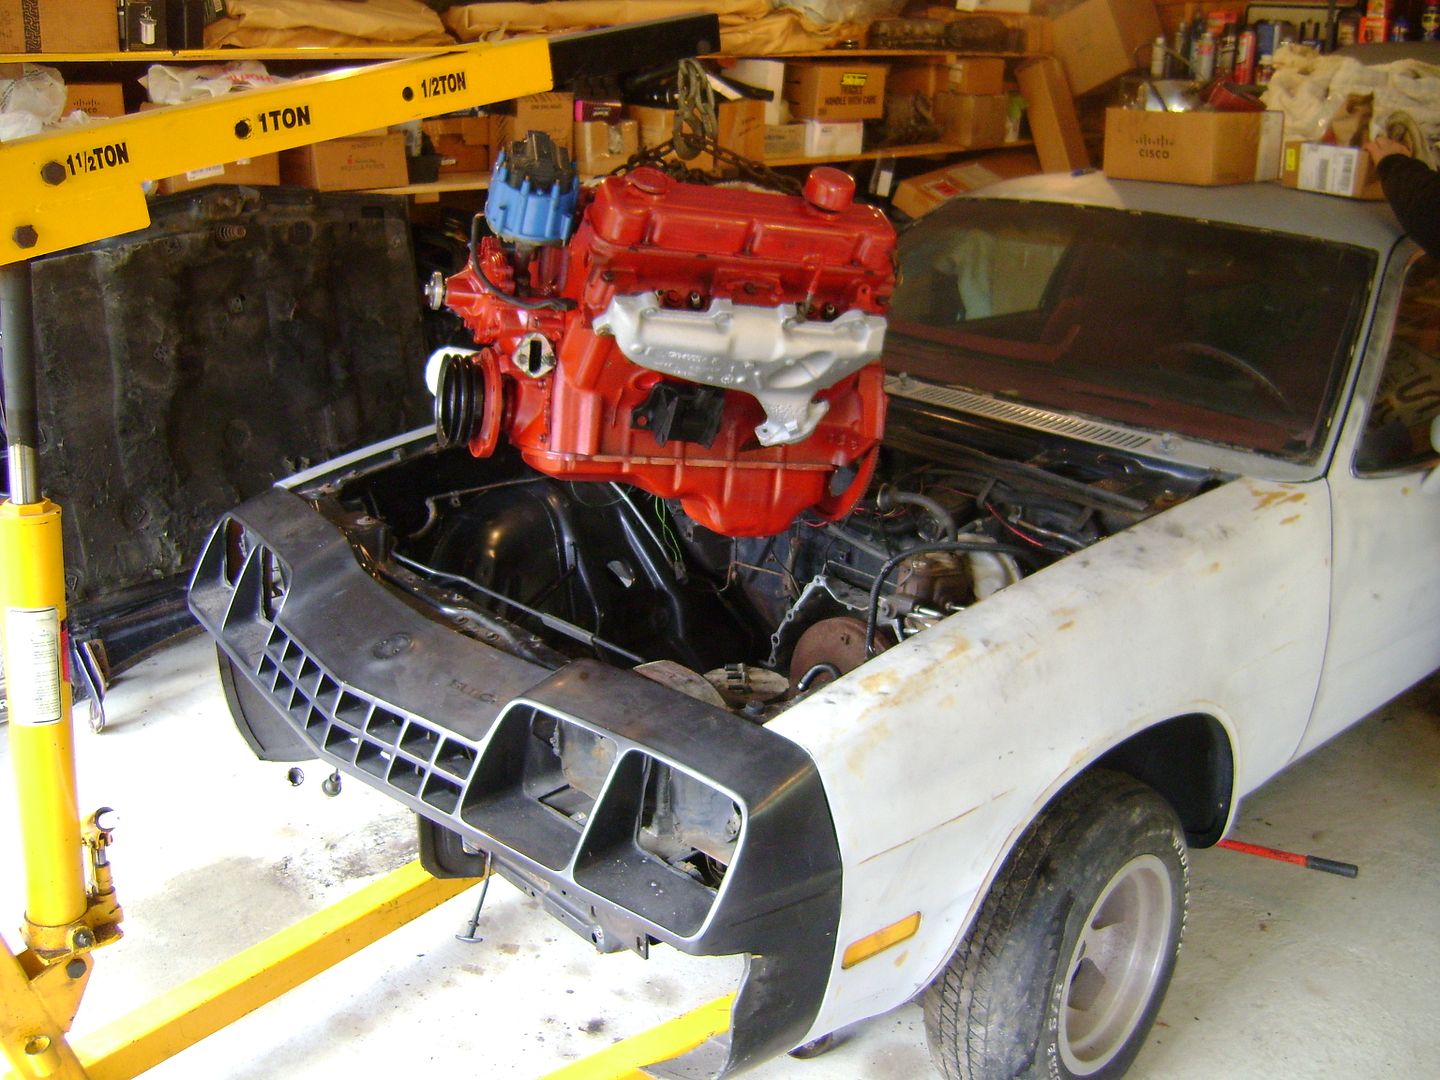
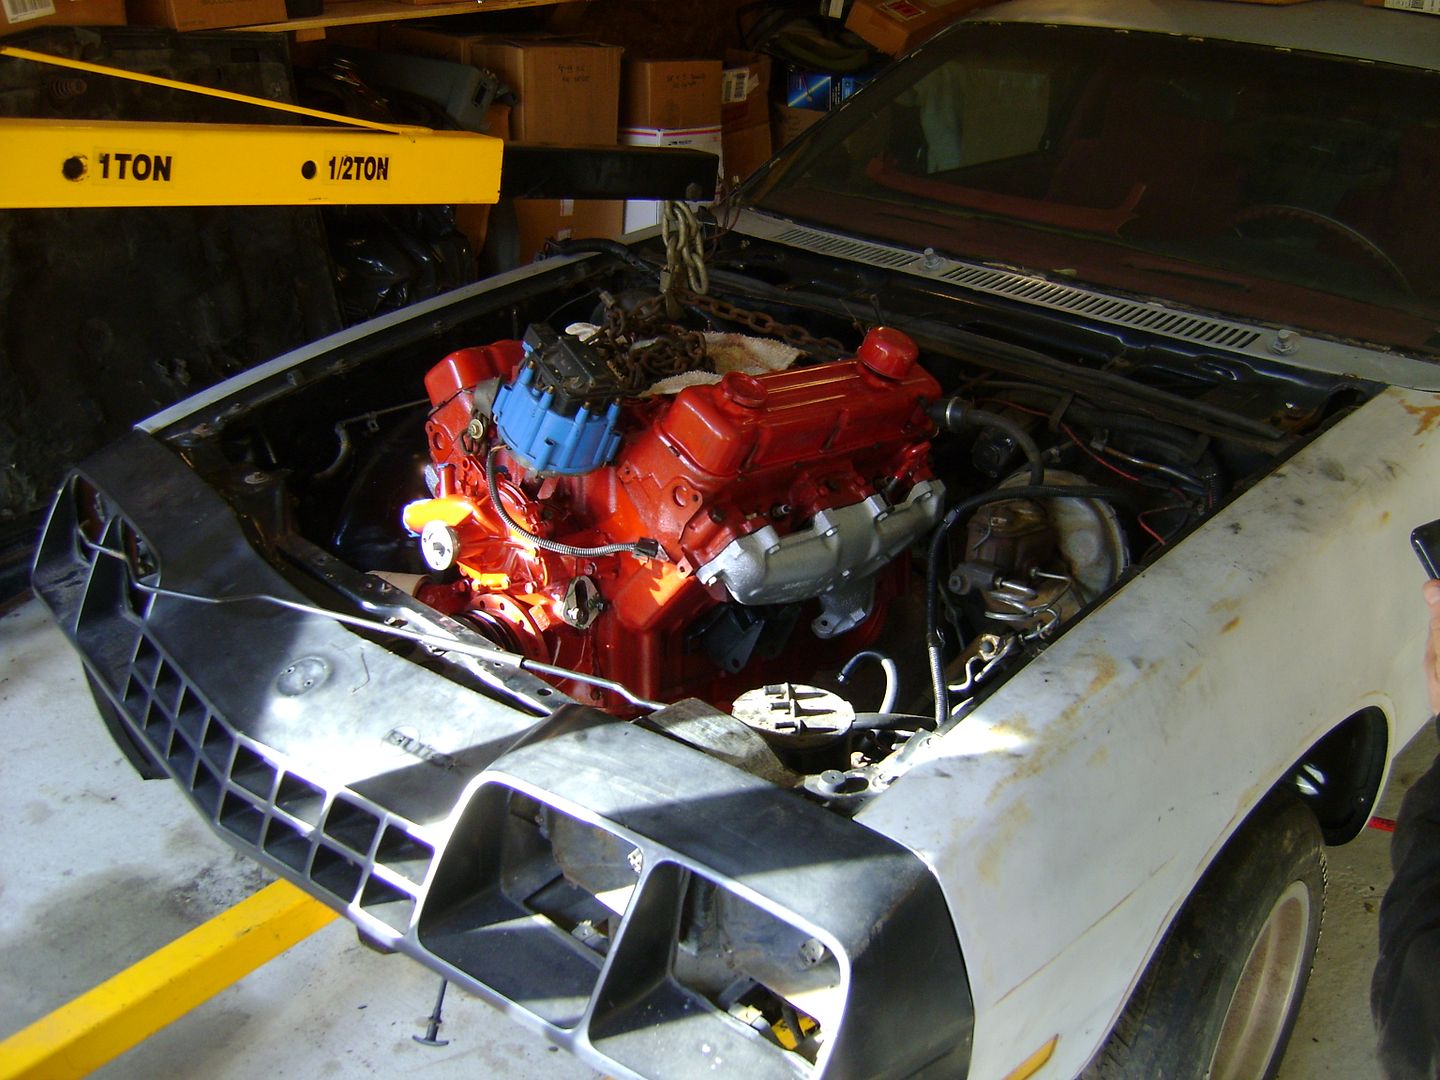
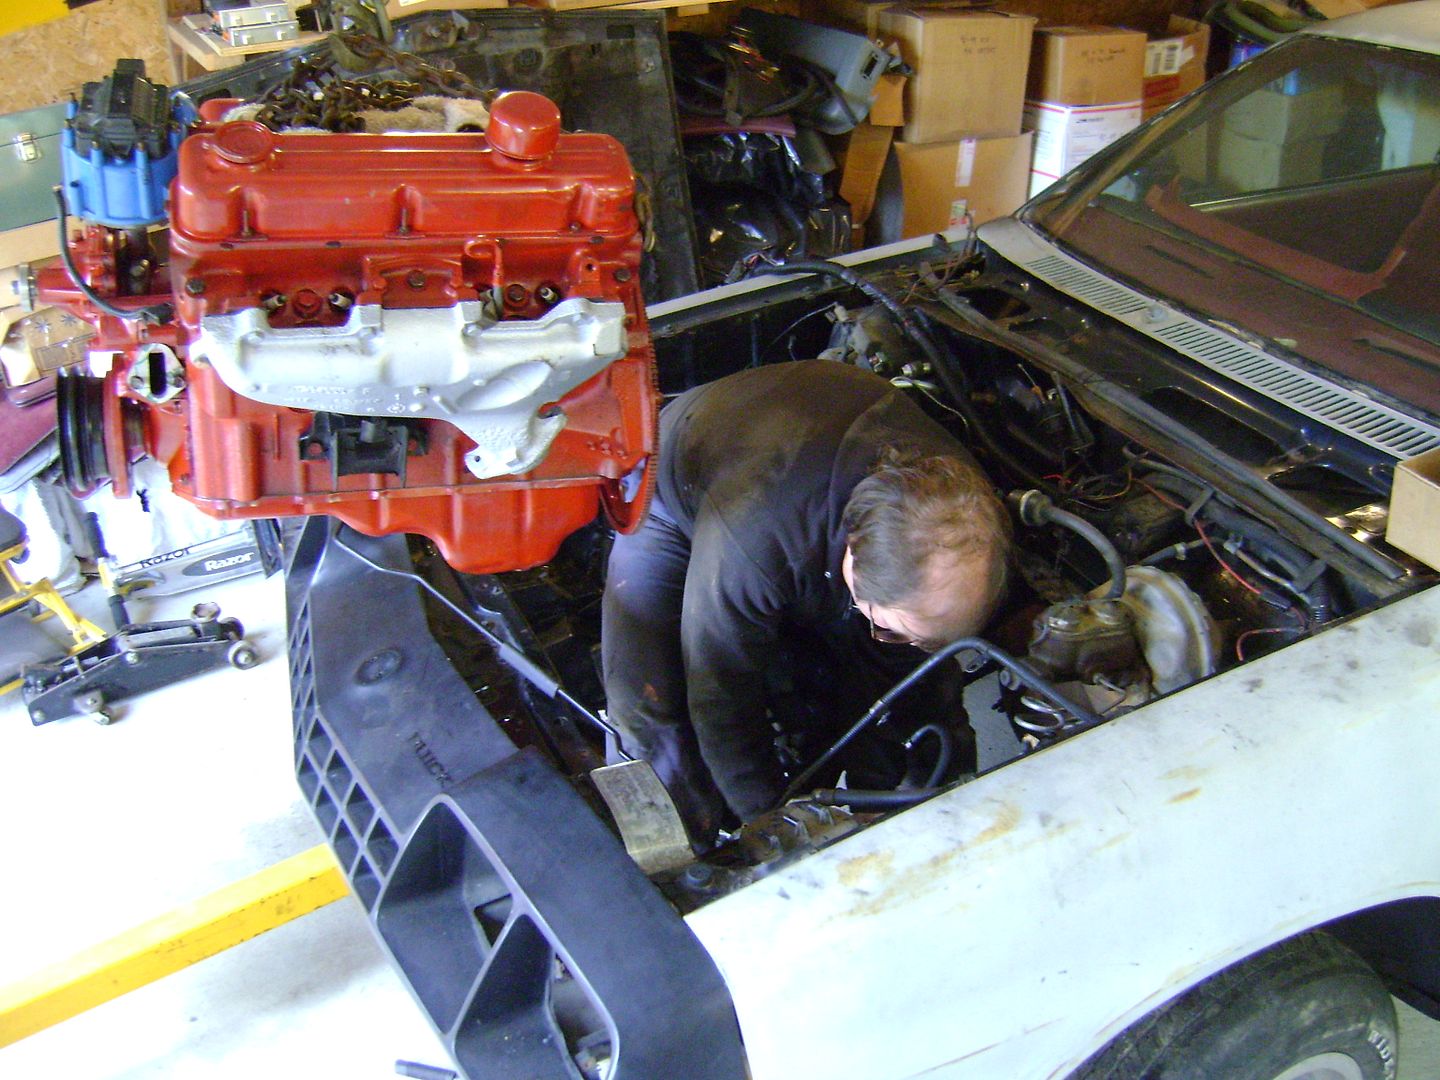
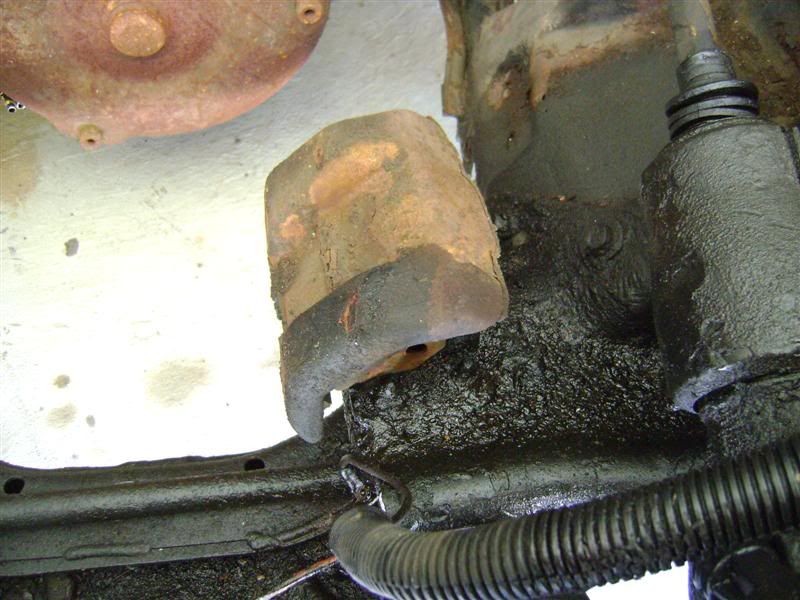
Trying out some 350 mounts...
Image

Image

Took off the rear spoiler. The hatch, along with the entire body, is in incredible shape.
Image

And this is how we leave it for tonight, because I had some other work to do on the T-type. Now you see why it's a project garage ;) .
Image

/////

I was going to replace the rear struts on the T-type tonight but I screwed up one of the mounts, so that work will continue this Wednesday when I get my new mounts. That all being said, my dad and I worked on the Skyhawk a bit. Took out the tail lights (PITA for some reason) and trunk lock (to get a key made for it finally) and attached the trunk latch so the thing would shut and stay shut.
Image

We also hooked up a battery to it and tested some of the electrical systems. A few gauge lights are out, but everything works! Radio, headlights, turn signals, reverse lights - everything important. Pulled the radiator and started soaking the bumper bolts in PB Blaster. Pretty productive for only working on it for half an hour.

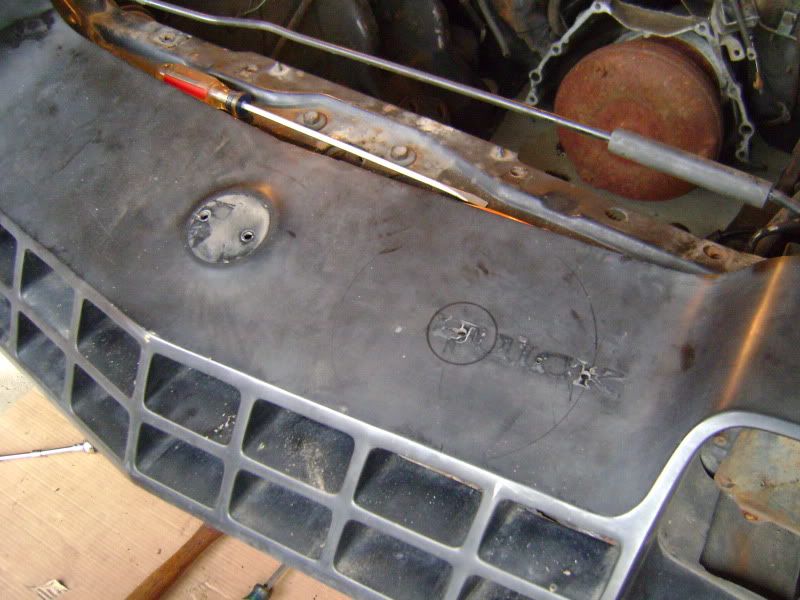
We just recieved the V8 fan shroud for the 'Hawk, again, thanks to Dave (8T8) for forwarding me the auction for it. Got it for a steal too!

Image
Image

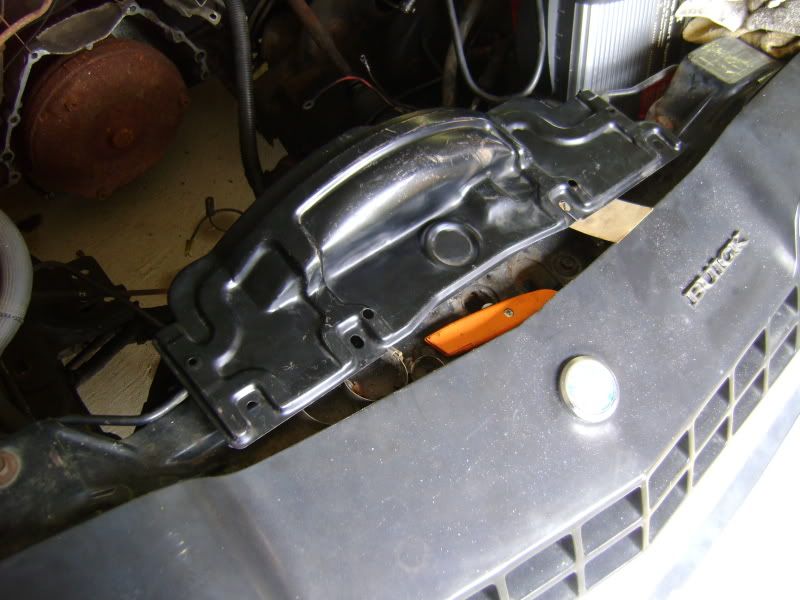
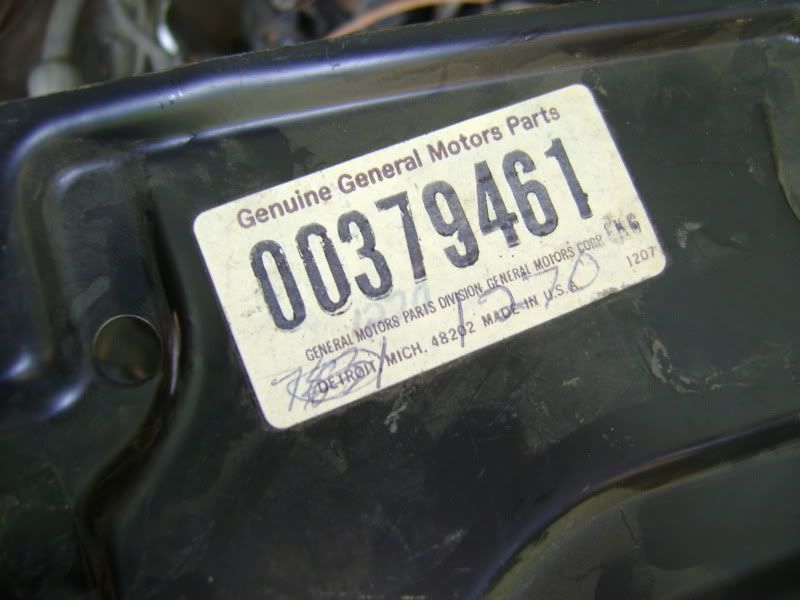
Genuine GM part too! Apparently this was tucked away on a shelf somewhere. Cool, very rare find for us. Anyway, not too much going on with the Skyhawk until my Lesabre is done, which should be in about a week.

/////

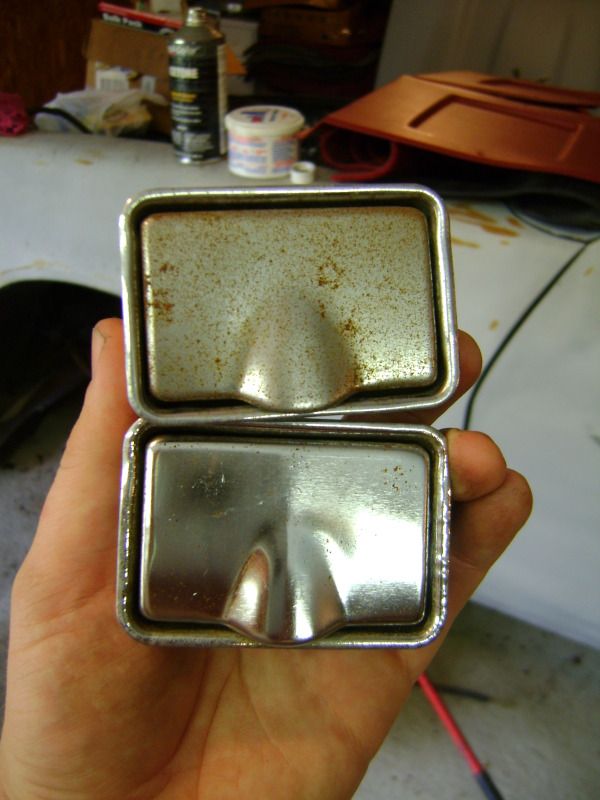
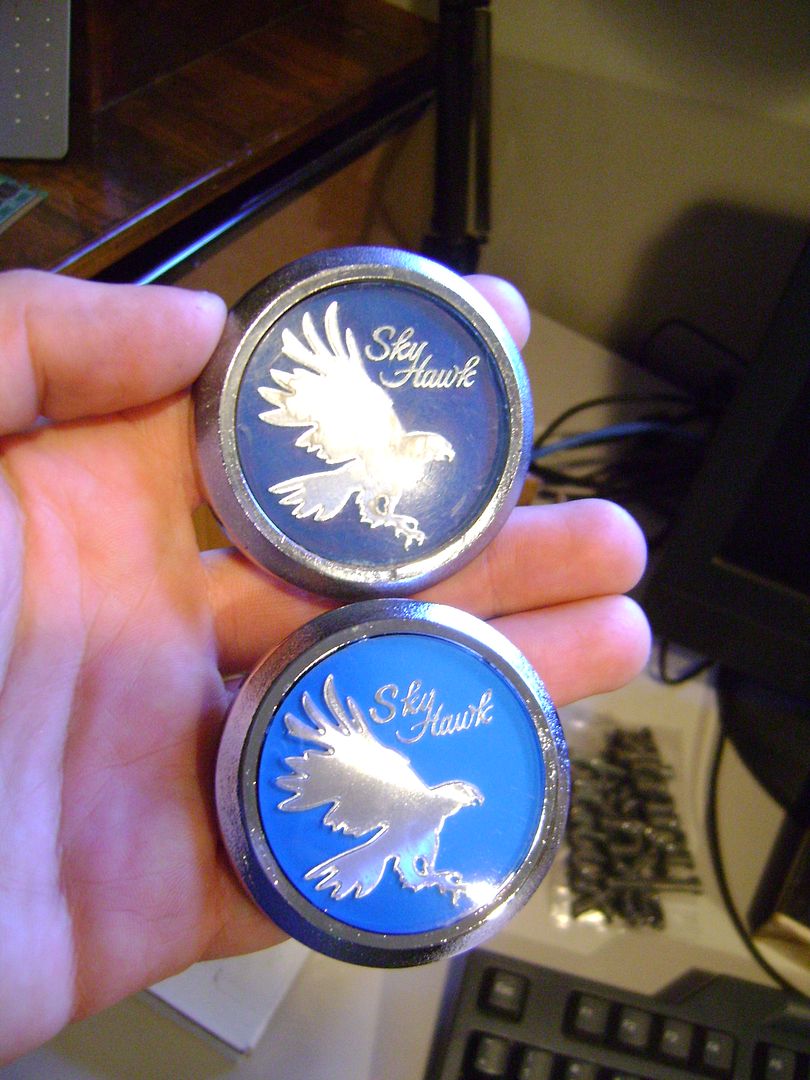
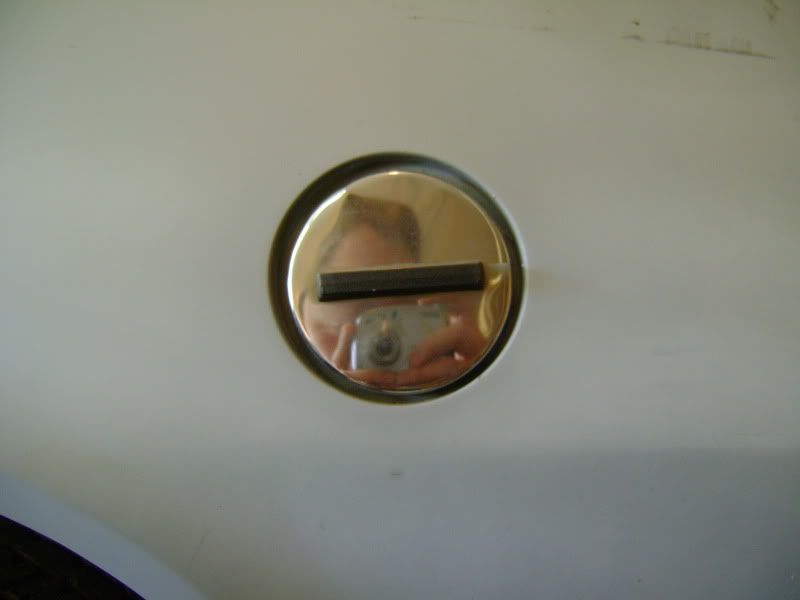
This is the stock 'size' gas cap, but this is an aftermarket one that came with the car. Looks nice, fits nice, not supposed to be chrome though.
Image

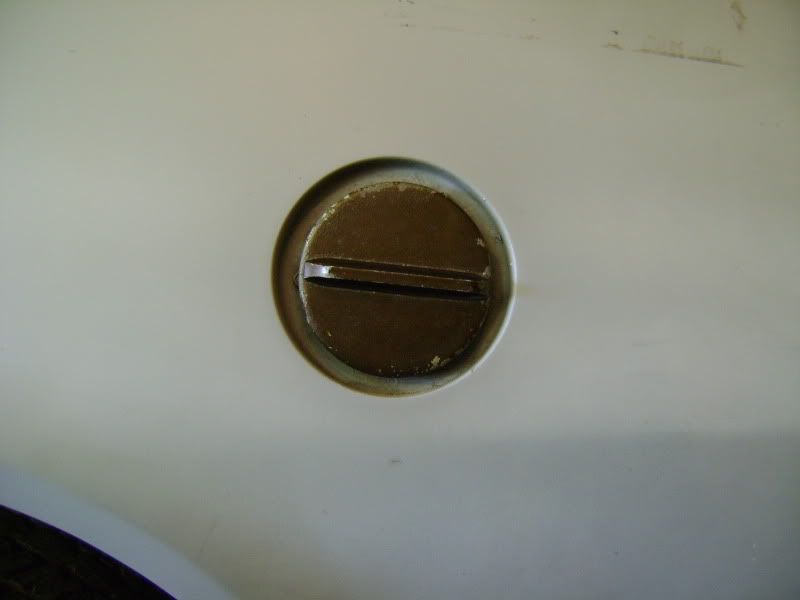
So we got what we thought was a 'real' Skyhawk gas cap, turns out it may not be. It's seems waaaaaaaaaay too small in diameter! Probably staying with the aftermarket one, but we'll have it painted. Anyone have any info on this?
Image

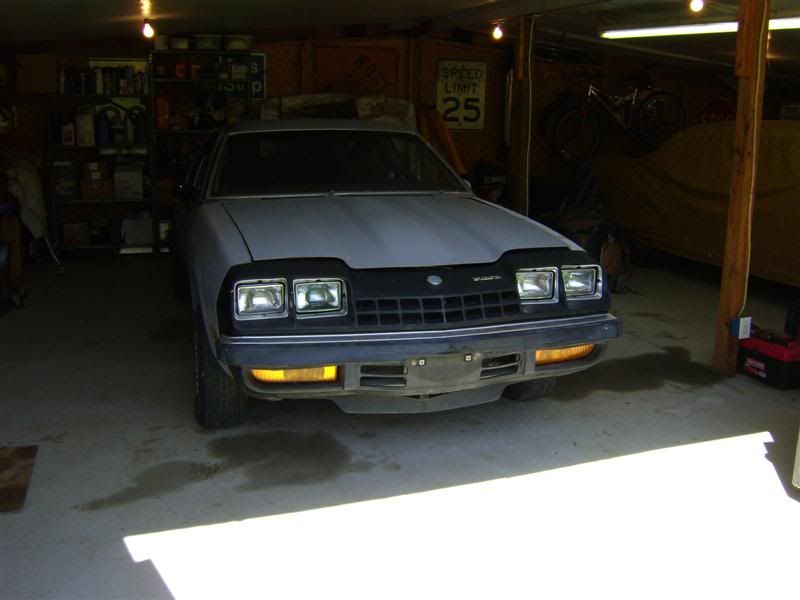
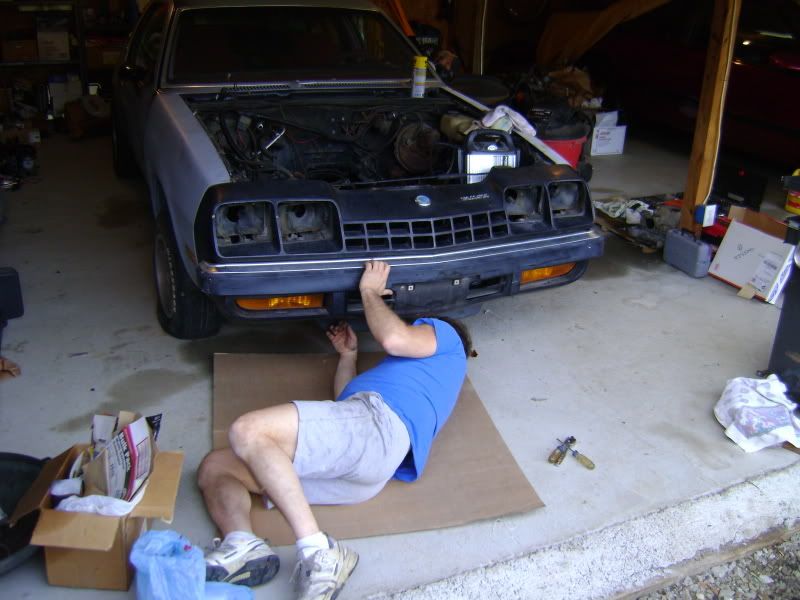
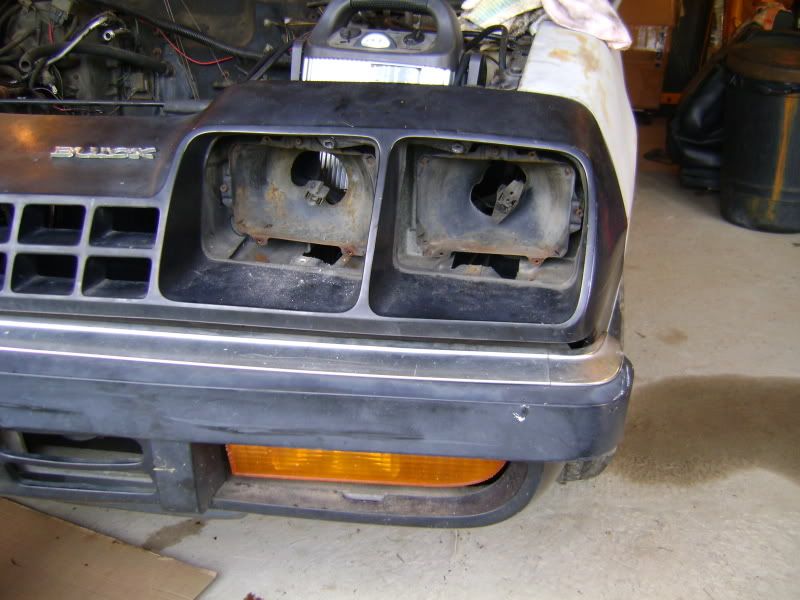
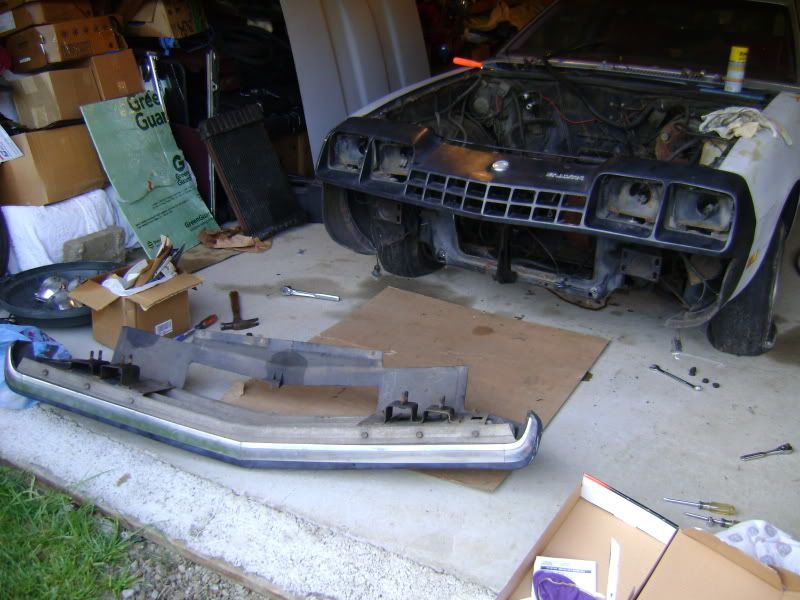
We were originally going to take the interior out and clean, but we were pressed for time tonight so we decided to take off the front bumper for our painter. Headlights and headlight trim are out:
Image

Image

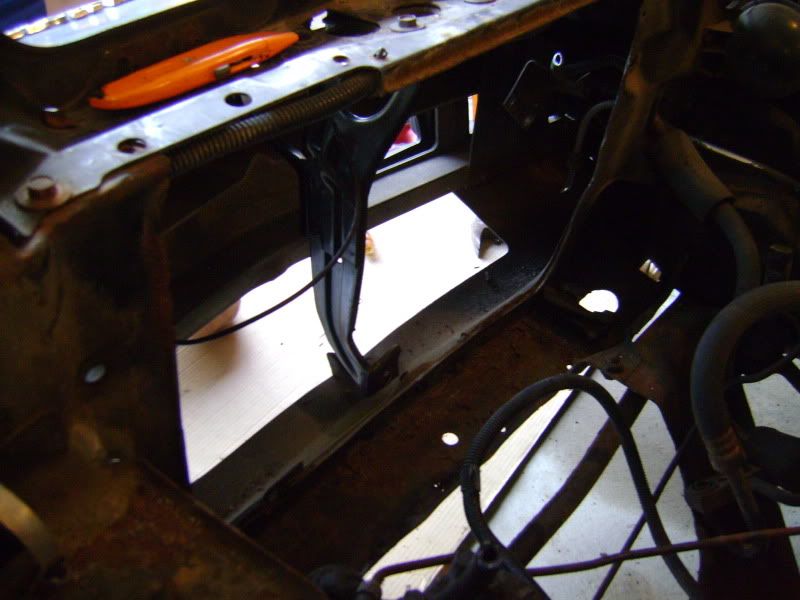
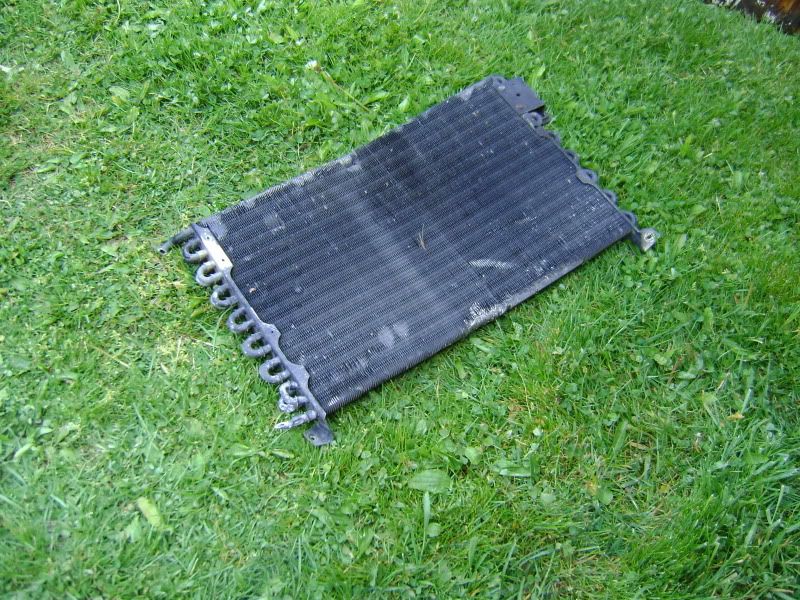
We're doing away with the A/C system, so the condenser comes out:
Image

Image

And the bumper is off. There is literally no rust on the front end of this car, the bolts were fairly easy to remove, which was pleasant :D .
Image

And the emblems are removed too. The old emblems have those stupid coarse threaded 'emblem nuts' and all 4 involved stripped. Probably the most difficult thing we had to do tonight lol.
Image


Not as much progress on this project right now as I expected, but we want to work on this together and our schedules clash like crazy. Next we want to remove the rear bumper and at least get the interior out. After that, we gather parts for the 350 and try to get it hooked up and running!

/////

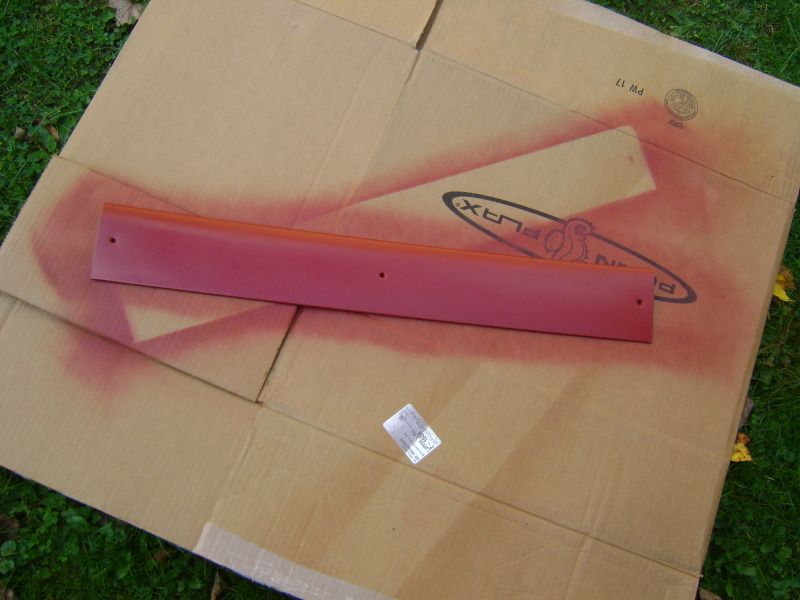
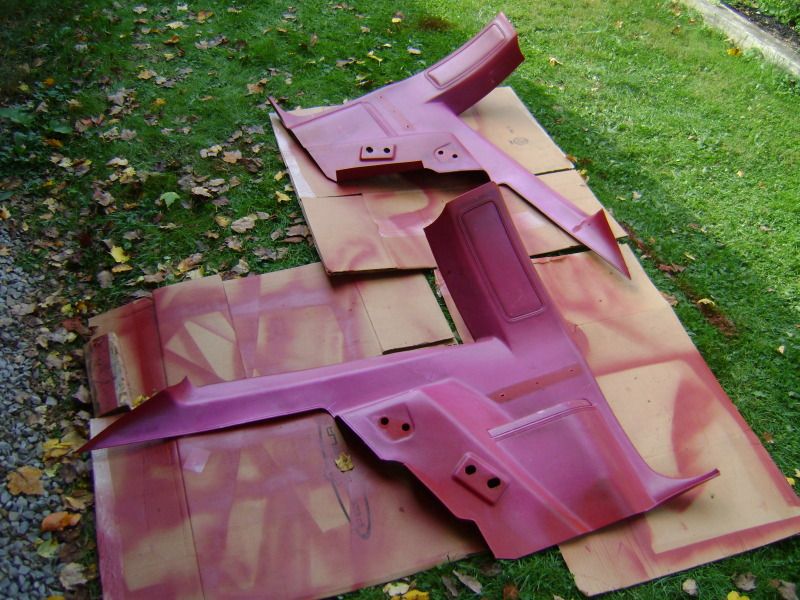
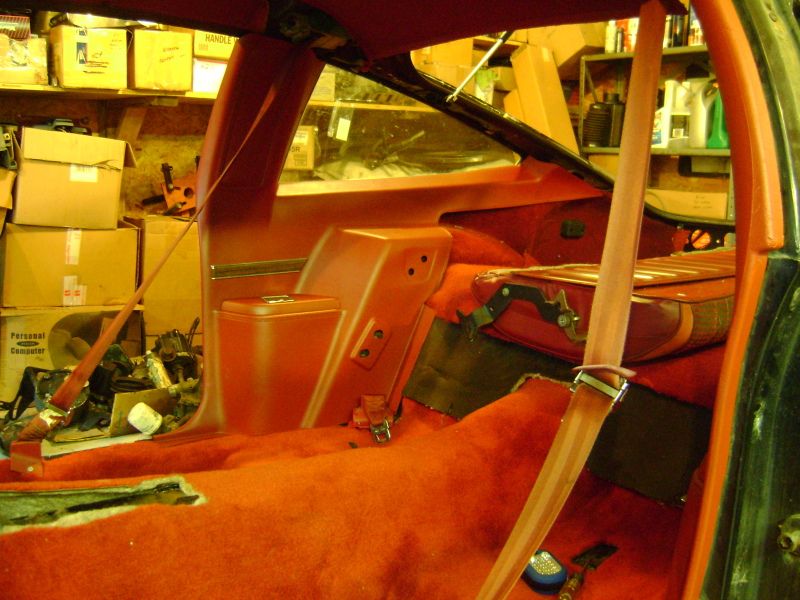
Today's goal was to remove all of the interior trim that needed repainted, and remove the carpet for replacement. Which I hope I can find. I flew solo on this one today, as dad was working until just a little while ago.

Back to work:
Image

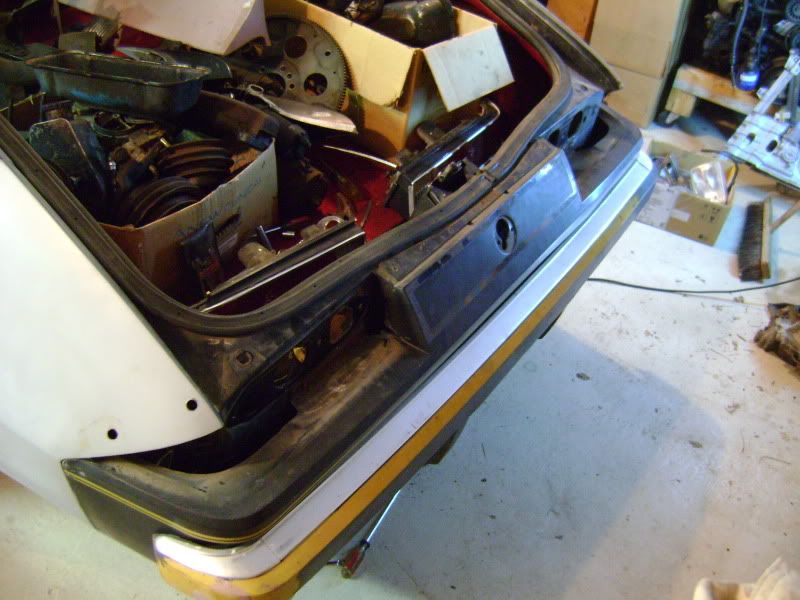
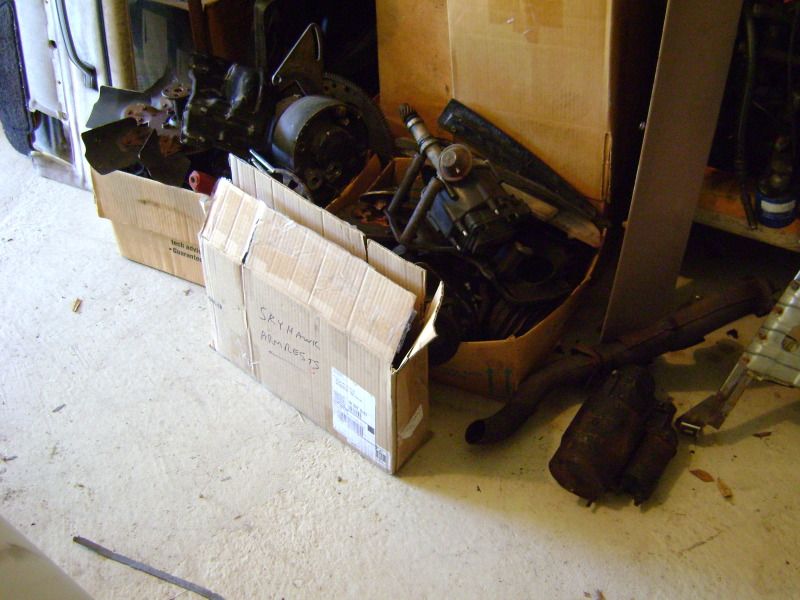
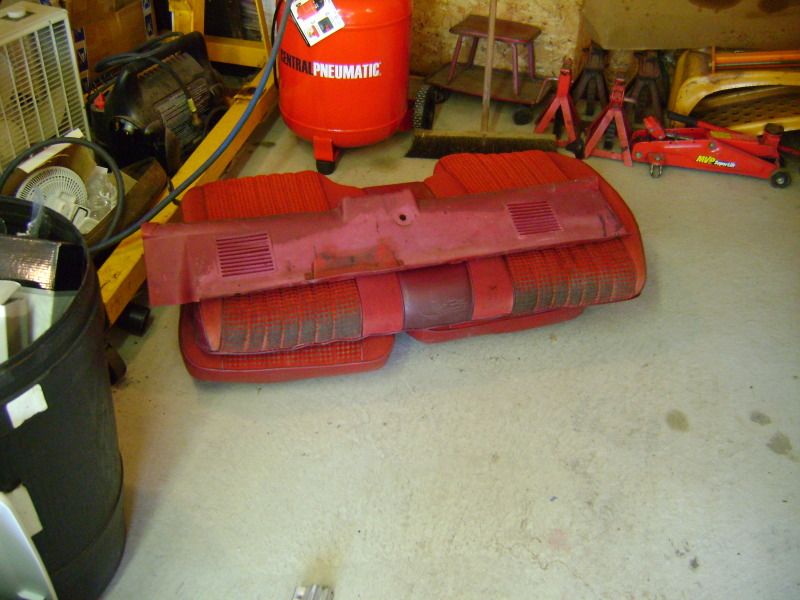
Removed all the extra engine parts and trim parts that were in the trunk:
Image

And put them elsewhere.
Image

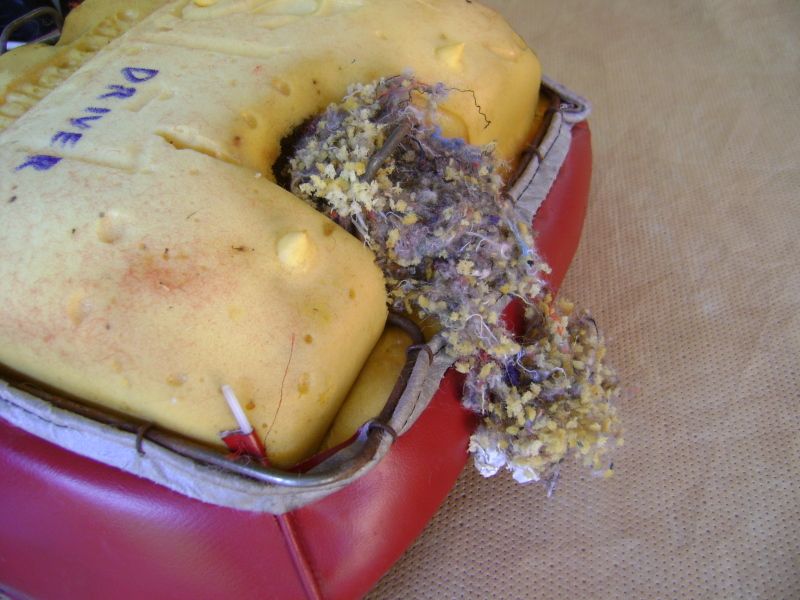
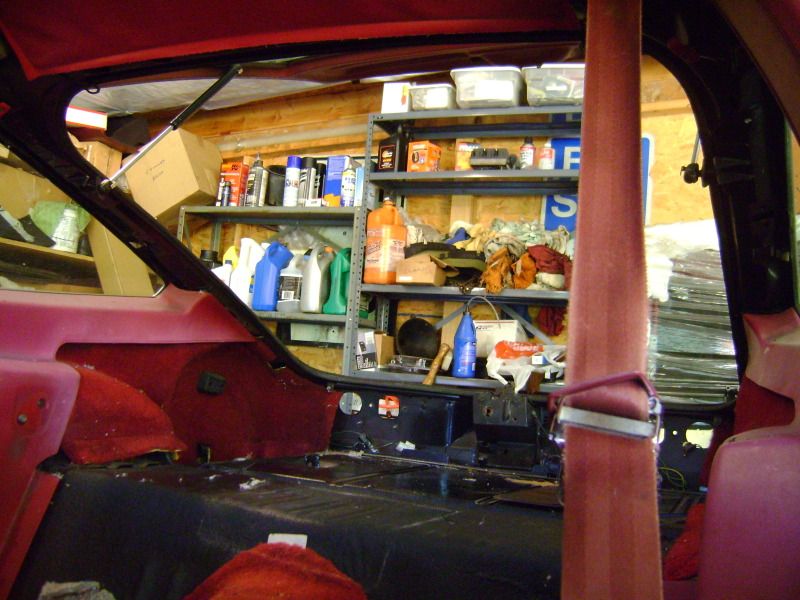
In removing one of the rear seat bottoms, I unsurprisingly discovered a good sized mouse nest!
Image

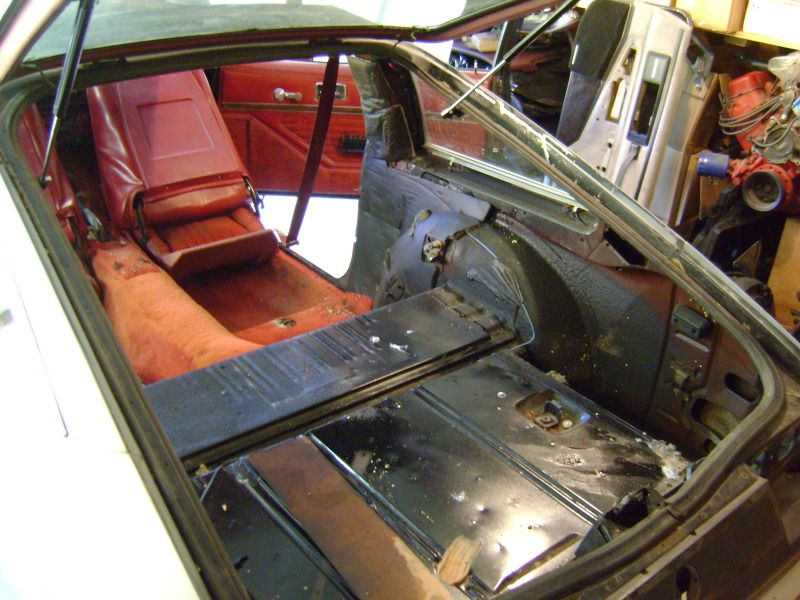
Rear seats out completely, including the back.
Image

Image

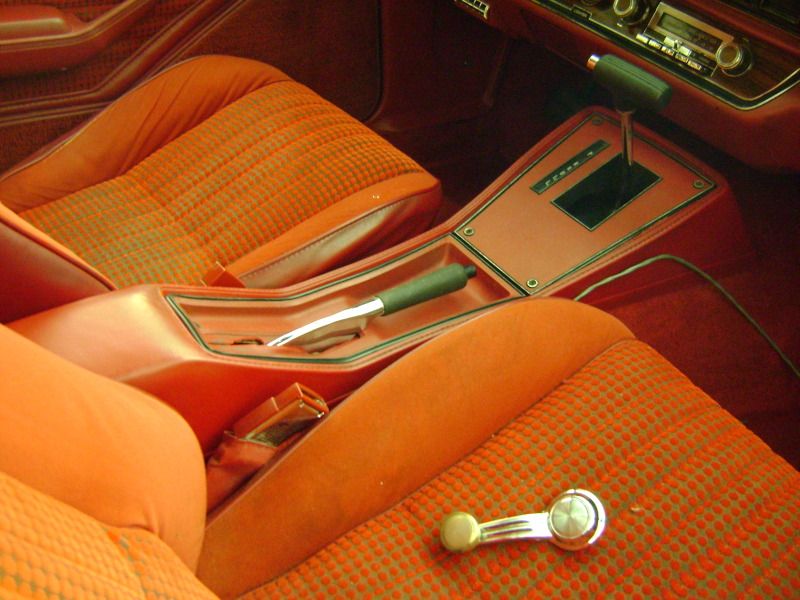
As well as the center console.
Image

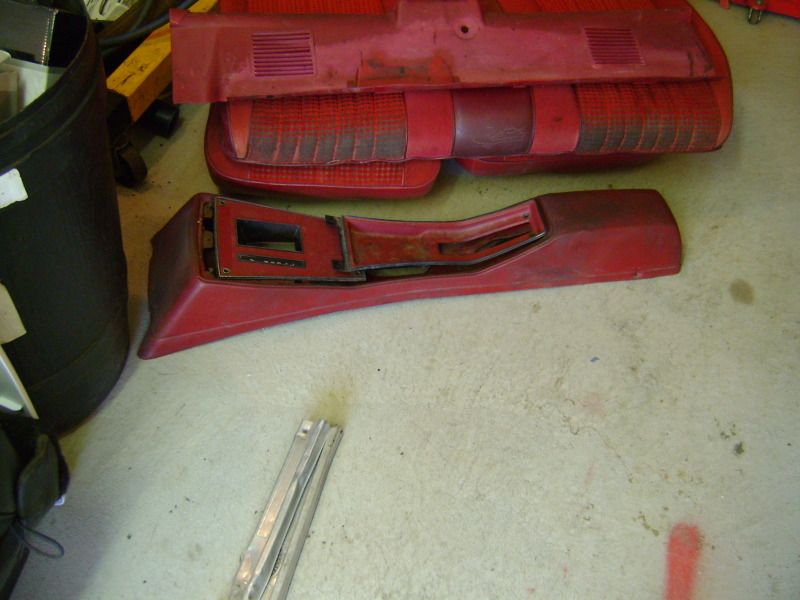
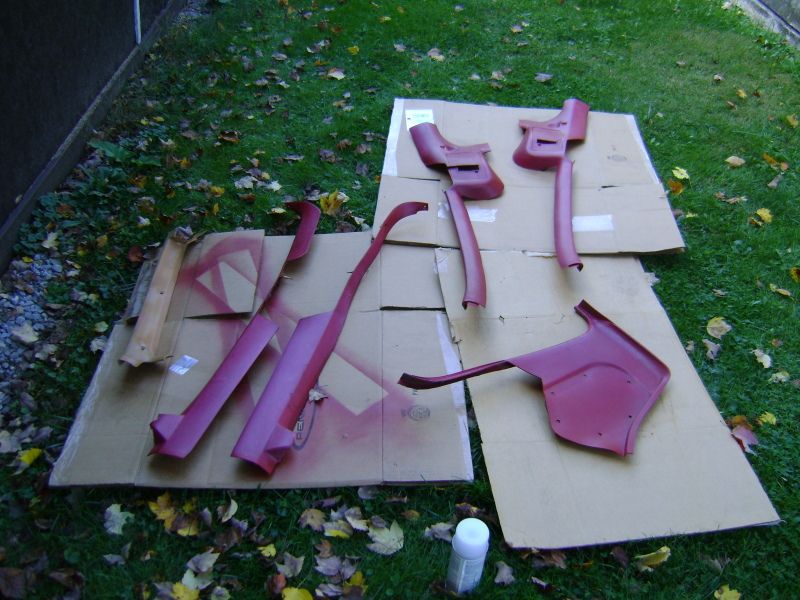
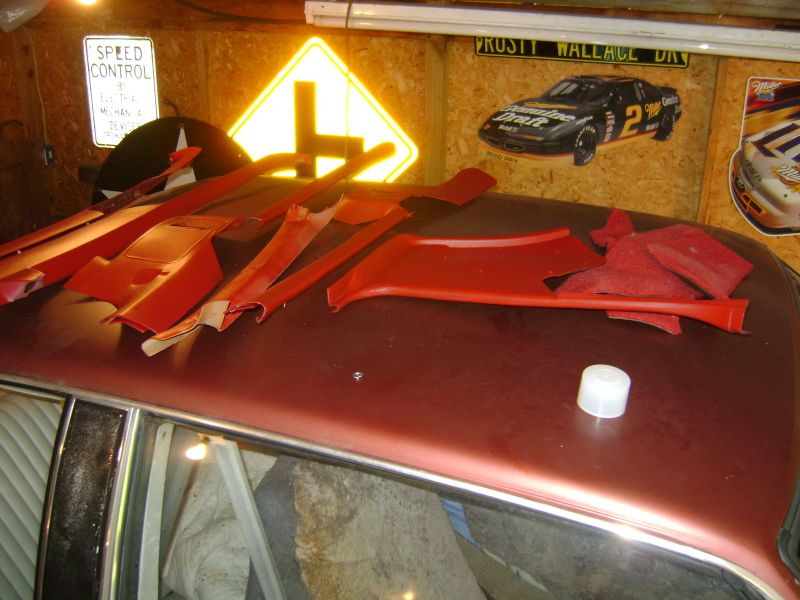
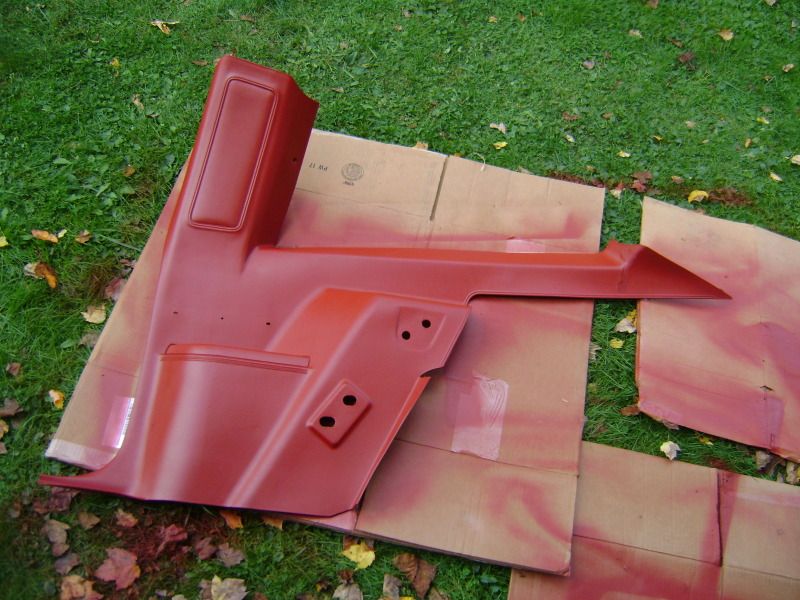
Carpet and upper trim:
Image

Side carpets, rear speaker (yes, just a single speaker...how sad), and side trim pieces.
Image

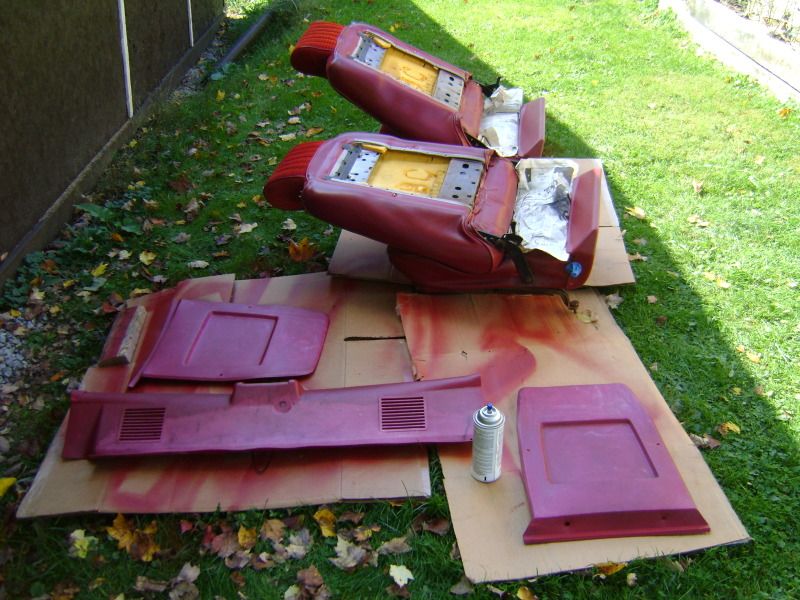
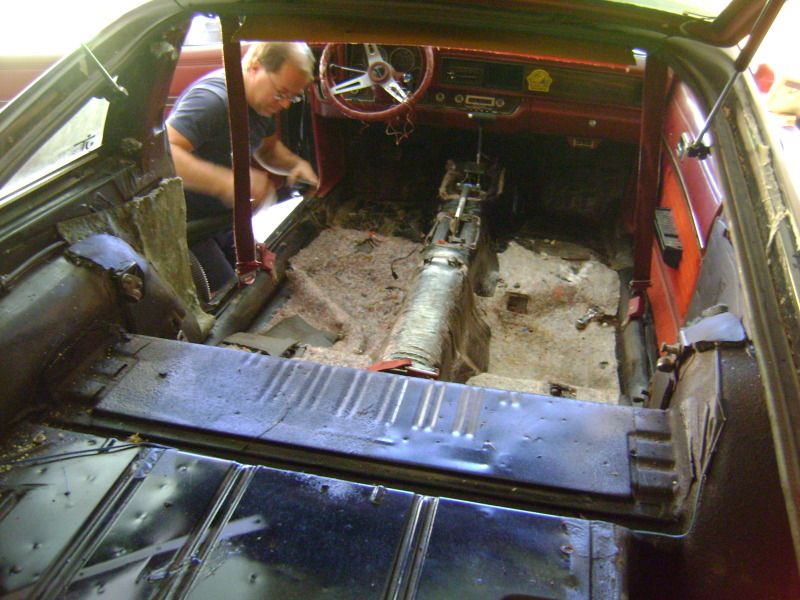
The front seats were an absolute bear. Luckily, they were not rusted! But it was very difficult to remove the nuts without the bolts spinning. We might change the carriage bolts to regular bolts so they're easier to remove in the future.
Image

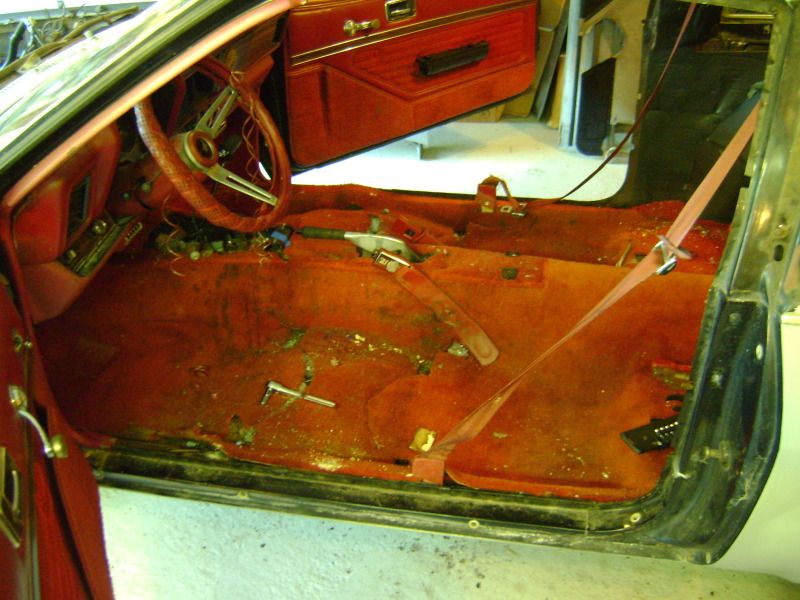
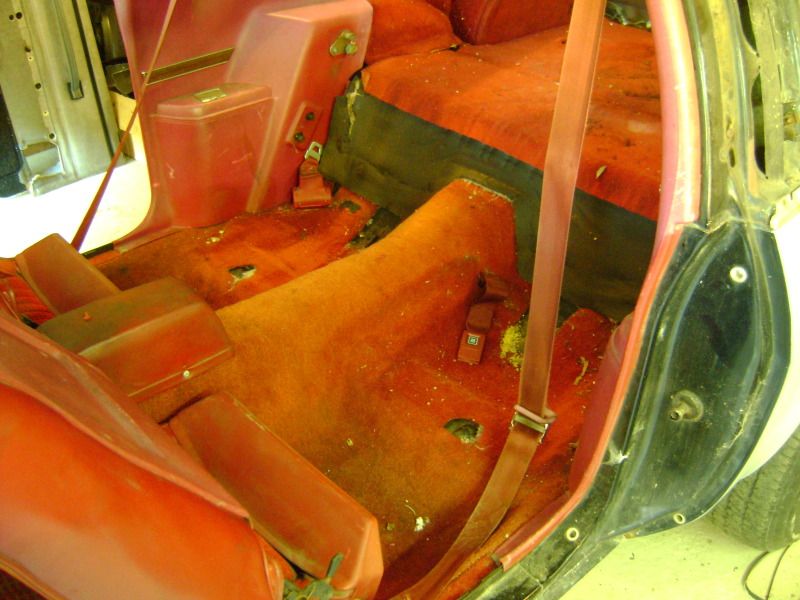
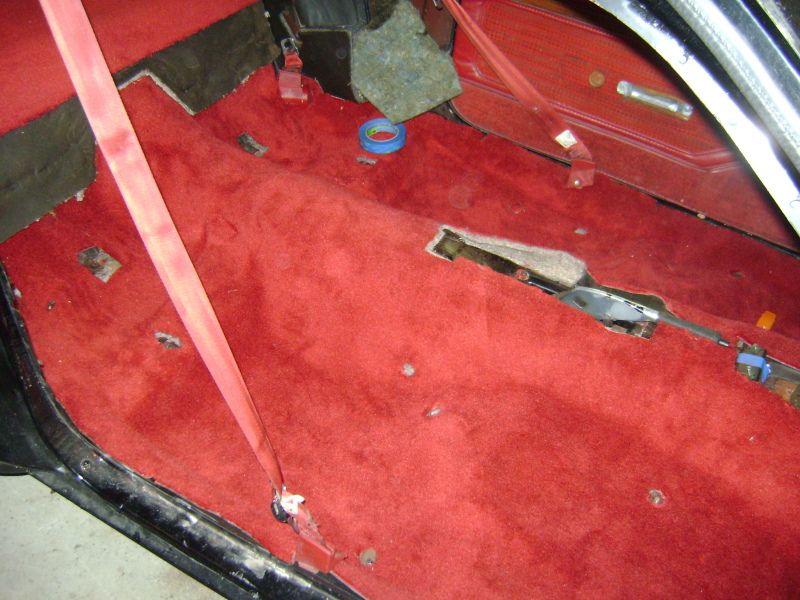
Last but no least, the carpeting! The carpet was a mess of grease, mud, and mouse crap. I hope I can find new carpet somewhere.
Image

Image


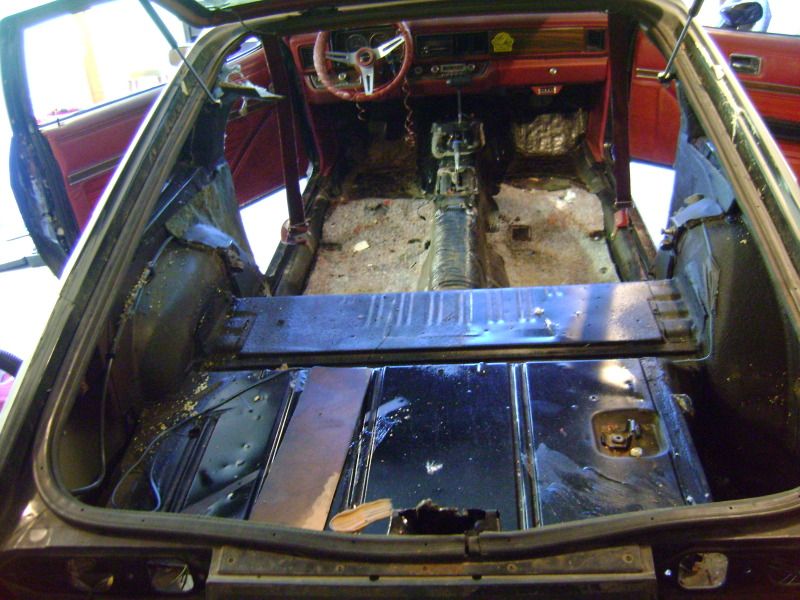
That is all for today. Only took me about 3 hours and I had no idea what I was really doing. Turns out it's an easy car to work on inside, though a little cramped :P


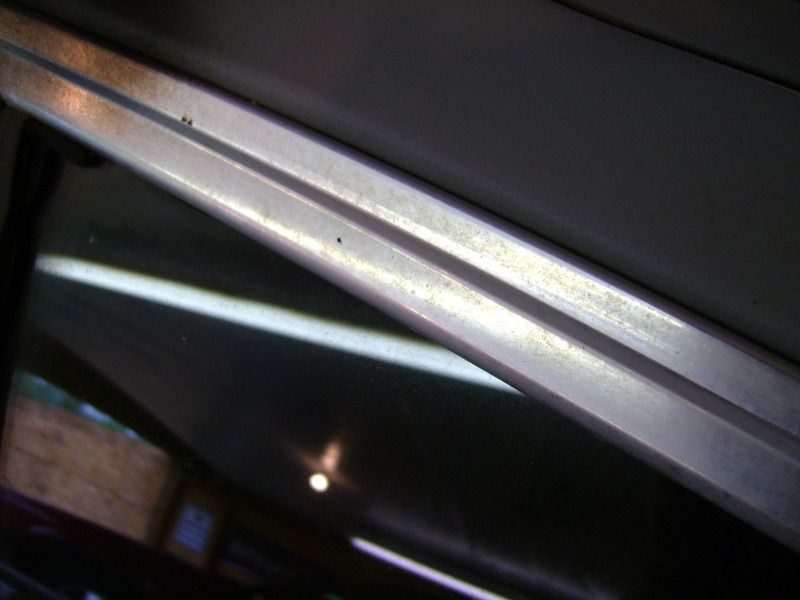
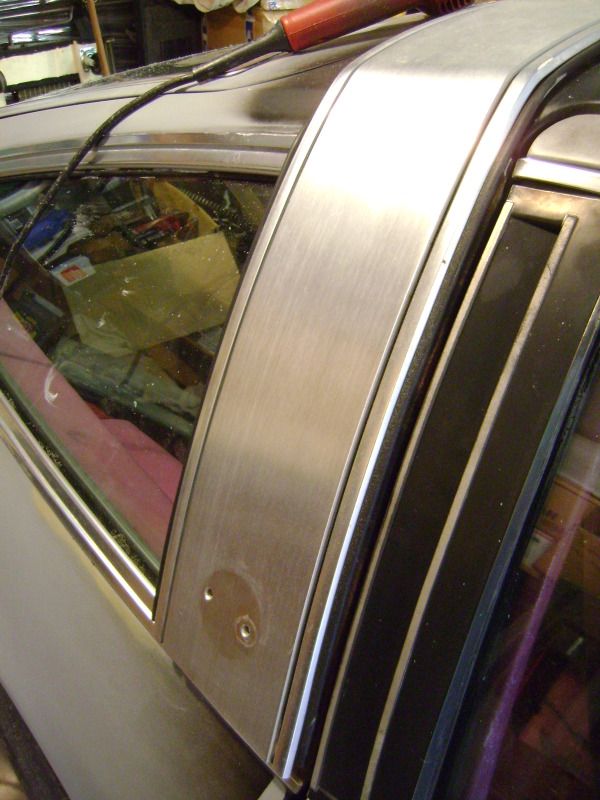
I forgot mention that I restored the chrome trim around the windows, and nearly completely restored the aluminum roof thingy.

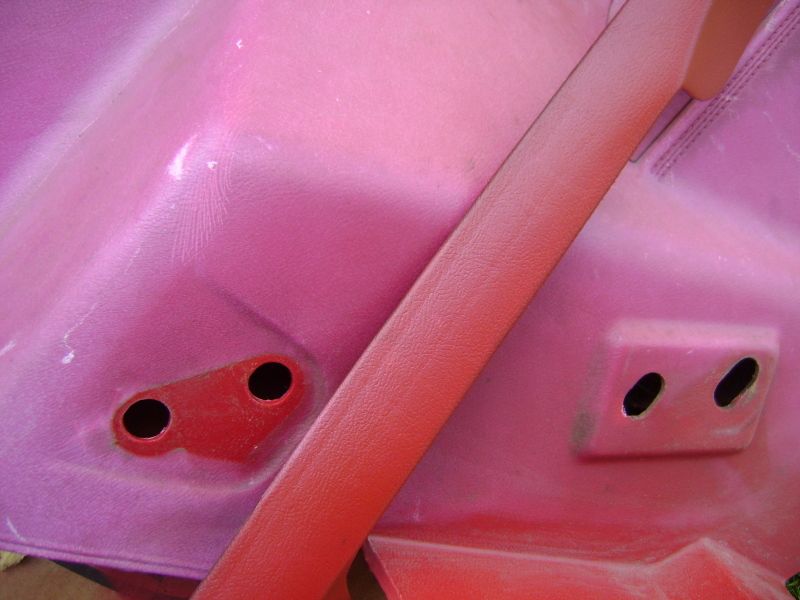
Here's an example of before:
Image

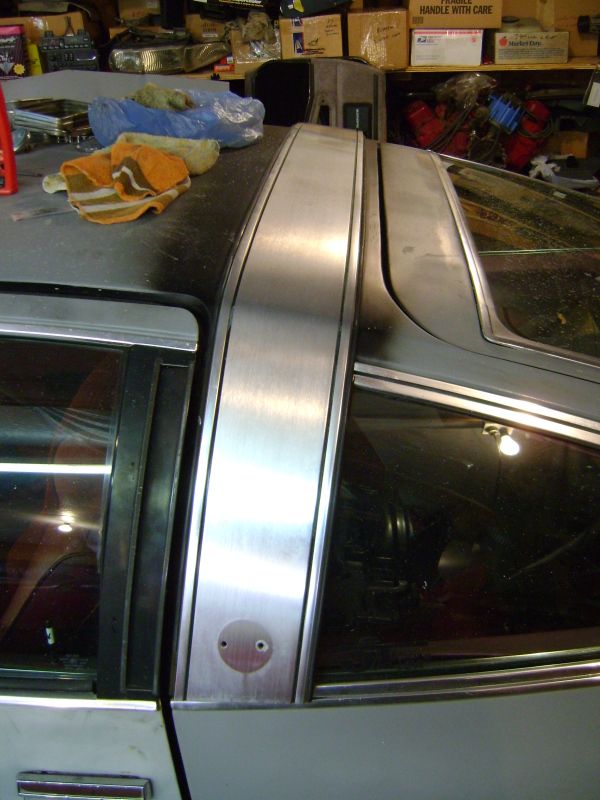
And after! Heck of a difference!
Image

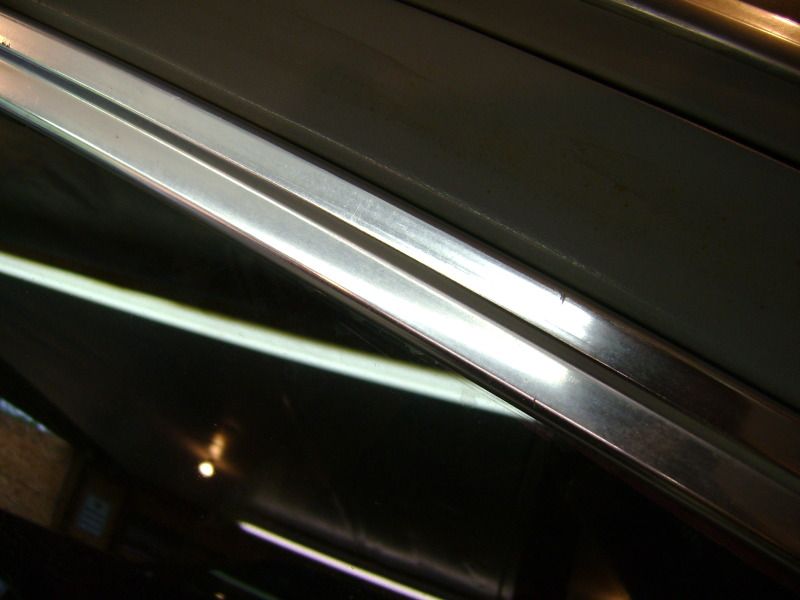
You can see the real difference in this picture between old and polished. The passenger 1/4 window trim is un-polished, the rear hatch on the right side of the picture was just done. Looks brand new in comparison.
Image

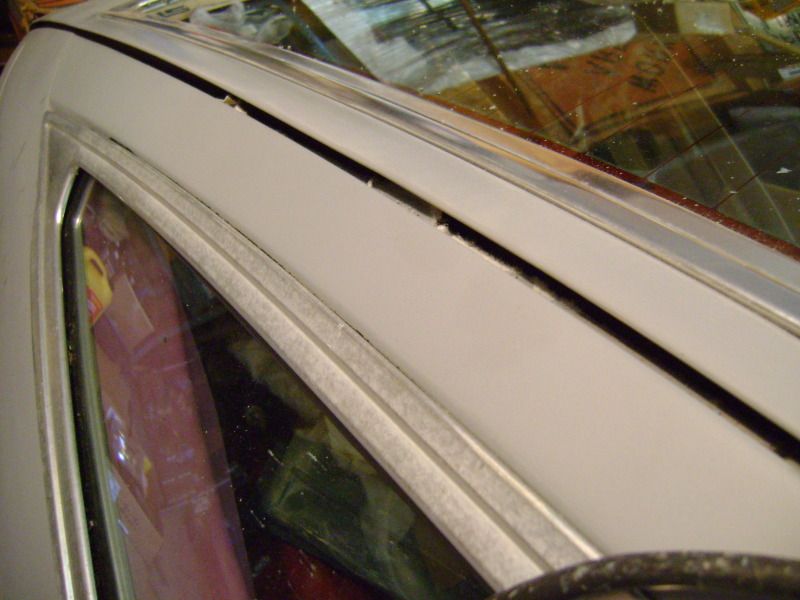
Here's one finished side of the aluminum roof thingy.
Image

In this picture, where my finger is pointing is separating the restored and un-restored sides. A little hard to see, but un-restored is pretty nasty in comparison.
Image

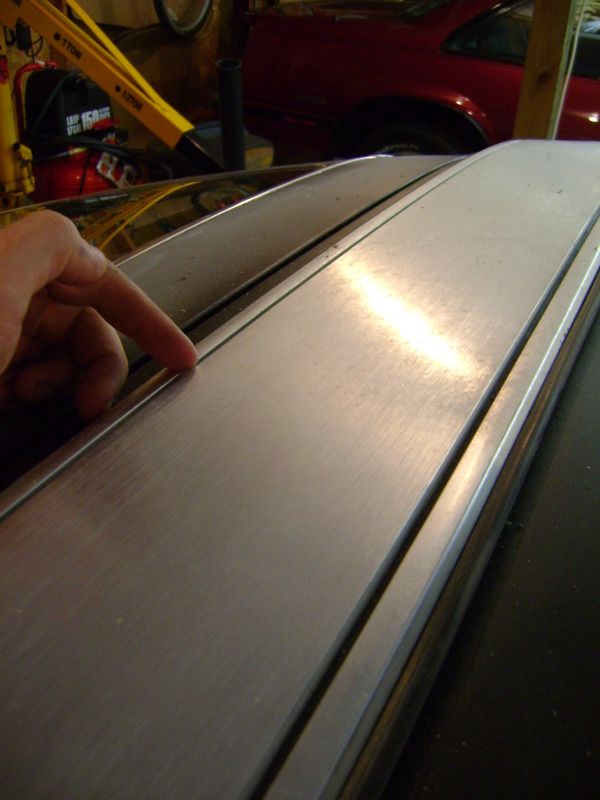
Finished roof thingy. I'm very happy with how this came out.
Image

/////

Carpet!

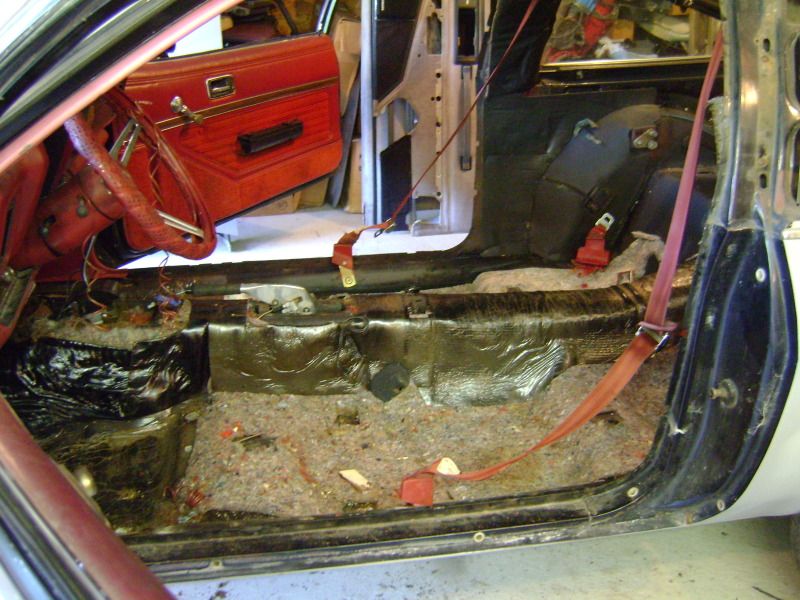
Here's Dad vacuuming the existing padding and the crap all through the floor panels.
Image

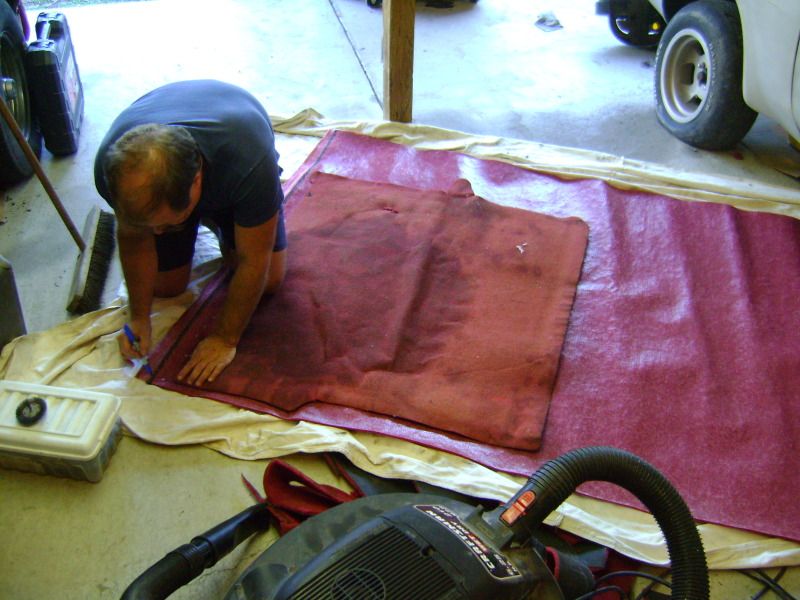
New carpet against old carpet. We set it out in the sun for a while because the backing was just a little stiff.
Image

After tinkering with another car, we heaved...and i mean heaved...the new carpet into the car through the back hatch. It was no fun lol.
Image

It took a while, but we got the center console cut correctly and trimmed off a few inches in the front, and it was formed quite nicely, despite some problems I have read about with the ACC stuff.
Image

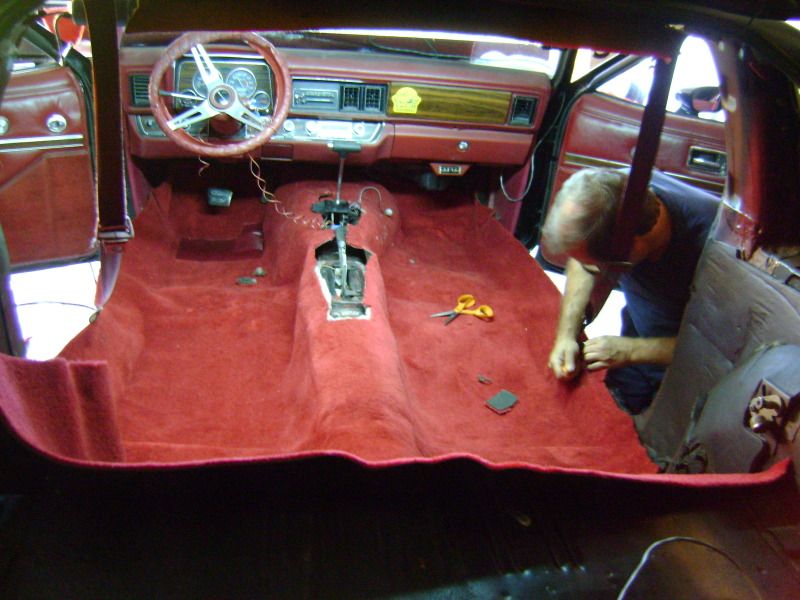
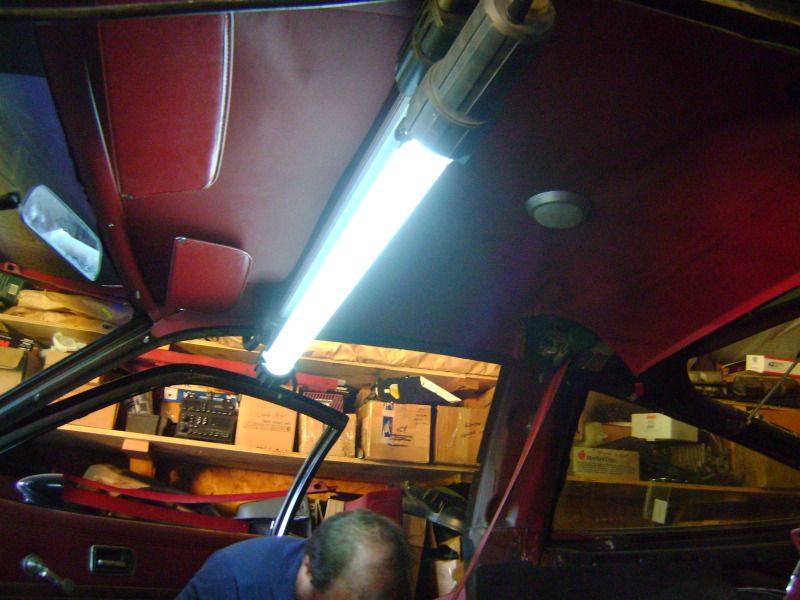
We also got smart and used my hood light thing inside the car so we could see what we were doing.
Image

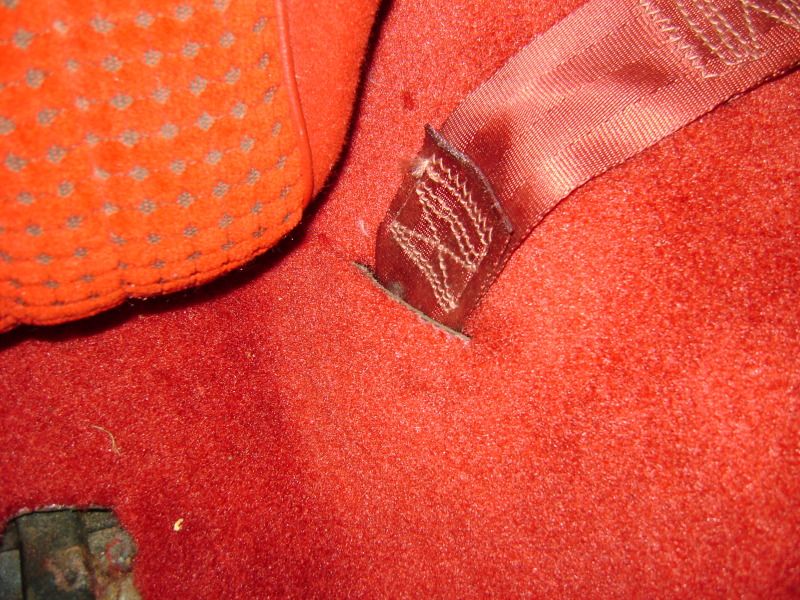
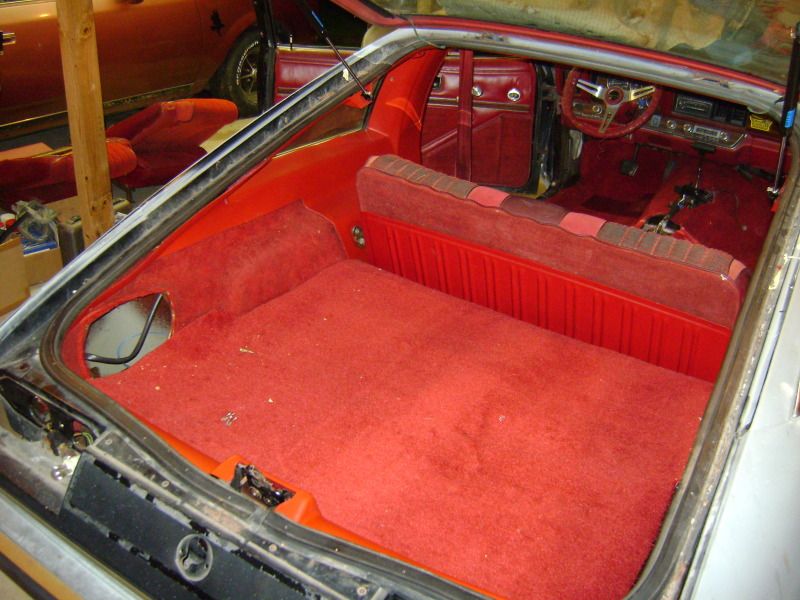
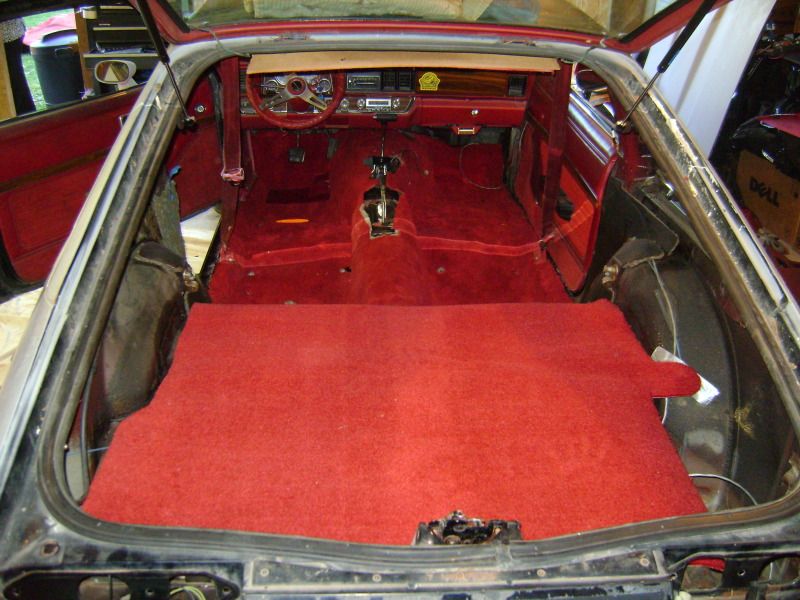
We cut all the holes for the seats and seatbelts, then while i was cleaning up dad got to work on the rear hatch compartment carpeting. He used the old piece as a template.
Image

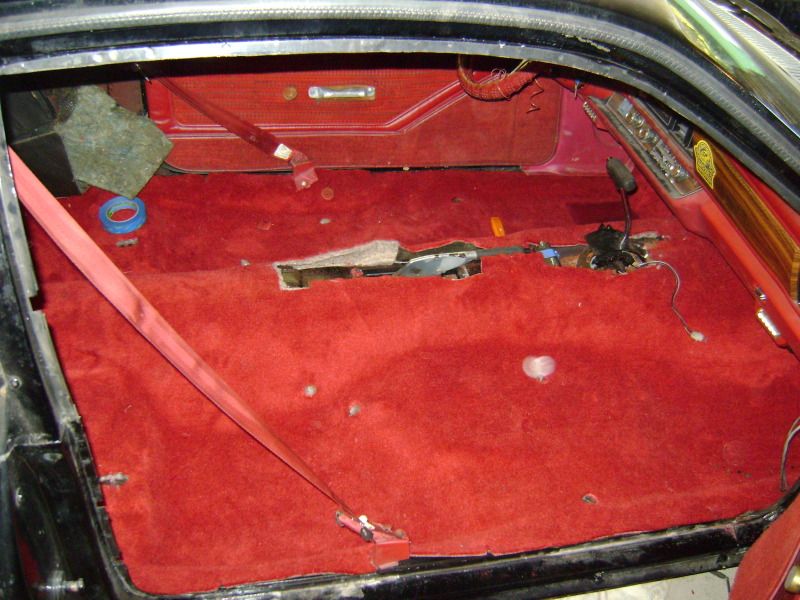
Viola! Makes the car look SO much better already! i can't believe the improvement in person, and it matches almost exactly to the door panels.
Image

Image

Image


In other news, the engine is still at the machine shop. Kind of a bummer, but it gives us time to catch up on other issues and other cars. I might get the rest of the interior panels painted tomorrow too, hopefully. I'll give them until next week to cure then the interior should be about done.


Sorry about the long post everyone, but I just wanted to get started on this thread and it seemed like the easiest way. Thanks for looking!

-Andrew Z
1978 Buick Skyhawk - Buick 4.1 V6, THM-350C...
1979 Century Turbo Coupe - Buick High-compression 350, 200-R4 swap...
1988 Buick Lesabre T-type - L67 supercharged swap/4T60E-HD
1997 Riviera - L67/4T65E-HD
Z-type
 
Posts: 103
Joined: Wed Mar 21, 2012 4:06 pm
Location: Cecil, PA - about 25 miles south of Pittsburgh


Re: 1978 Skyhawk

Postby duckblaster67 » Thu Sep 27, 2012 12:27 am

Lookin' good! Couple questions for you...What were the part #s for the hatch struts, and where exactly did you get the full carpet set from, also can you post a close up pic of the front bumper of the T-type cuz the air dam looks like something that could work for my son's Mirage? Thanks and keep the updates coming! :th:
User avatar
duckblaster67
 
Posts: 253
Joined: Tue Jun 05, 2012 6:41 pm

1977 Chevrolet Monza Mirage

Re: 1978 Skyhawk

Postby marco_1978_spyder » Thu Sep 27, 2012 9:31 am

Did you find a buildsheet?
1978 Monza Spyder V8 4speed, posi
1978 Sunbird Formula V6, 5 Speed, Hatchback
1980 Sunbird Hatchback 4cyl, 4spd.
2006 Chevrolet Aveo 5 speed Hatchback
Yes, you can refer to me as Mark
Please visit my blog... http://chevymonza.blogspot.com/ Follow if you like!
Featuring special guests; Carl Beraytor and Ray D'atore

My Red spyder now has a youtube channel please Like and Subscribe!!!
https://www.youtube.com/channel/UCOzzSR ... ISuing7KLA
User avatar
marco_1978_spyder
Senior Moderator
 
Posts: 5283
Joined: Sun Jun 25, 2006 5:20 pm
Location: Western, New YorK / Rochester

Re: 1978 Skyhawk

Postby Z-type » Thu Oct 04, 2012 9:44 pm

Duckblaster - I kept forgetting to get decent shots of the spoiler, but I think you're going to have a hard time fitting that spoiler to that car! Not impossible, but the hardest part will be FINDING one!

Marco, yes! I found the build sheet today actually! I forgot to get a picture of it, but it was wedged inside the driver's side seatback. Kind of an odd place, I think. Good news is, it matches the car!


Good-sized update today! I was off today and could not pass up the fantastic weather for painting. I took advantage of it and got all but one piece of trim re-finished. If you look back at the earlier posts in this thread, you'll see how bad the interior panels were. I ordered SEM's Firethorn red (OEM color) and Adhesion Promoter. I sanded and scrubbed every piece until it was as clean as possible, and had at it.

I did a test on a metal ceiling piece first, just to make sure my process would work. Sure enough, it turned out completely flawless.
Image

Ceiling trim and a footwell piece, prepped and ready.
Image

And finished...
Image

Seats, seat backs, and rear hatch piece.
Image

Here's an example of how much the paint/dye changed the trim. I can't believe how badly it had faded.
Image

Both rear armrest/lower trims.
Image

Turned out amazing.
Image

While the last of the trim was drying (which takes nearly no time at all) I decided to try polishing the rear ashtrays. Not that they'll ever get used, but at least they'll look nice. Before on top, after on the bottom.
Image

Because the paint took so little time to dry, I decided to put the interior together tonight. Went pretty smoothly, though I realized I had forgotten a lot since I had taken it apart lol. Fitting the passenger rear armrest piece...
Image

Got the seat back and bottoms in and realized I had forgotten to cut slits for the inside seatbelts lol. Oops.
Image

The rear basically done.
Image

Image


I think next I'm going to try to remove the dash and clean it up some, and I still need to clean the center console and the vinyl on the front seats. I also have to fix the mechanism that allows the passenger seat to slide forward and backward, for some reason it's not moving. The rear piece of carpet needs trimmed a bit and I need to find a decent spare tire! All in all, a pretty productive day!
1978 Buick Skyhawk - Buick 4.1 V6, THM-350C...
1979 Century Turbo Coupe - Buick High-compression 350, 200-R4 swap...
1988 Buick Lesabre T-type - L67 supercharged swap/4T60E-HD
1997 Riviera - L67/4T65E-HD
Z-type
 
Posts: 103
Joined: Wed Mar 21, 2012 4:06 pm
Location: Cecil, PA - about 25 miles south of Pittsburgh

Re: 1978 Skyhawk

Postby sportriderok » Fri Oct 05, 2012 10:30 am

Your interior is looking awesome! The paint made your panels look new. Congratulations!
User avatar
sportriderok
 
Posts: 388
Joined: Fri Dec 23, 2011 7:10 pm
Location: Mannford, Oklahoma

1977 Chevrolet Monza Sport Coupe

Re: 1978 Skyhawk

Postby Z-type » Wed Oct 10, 2012 8:38 pm

Thanks man :D . It was nice heading into the garage today after not seeing in since last week, and I pleasantly surprised myself! I saw the interior and was like 'Holy cow it was terrible...' .

BUT ...me and dad tackled the rest of the interior today and everything is back together except and issue with the passenger door panel. Front seats and console are in, new armests on (except for the passenger side) . It was a lot of fun, and everything looks close to new again. I didn't take any pictures but I'll have some tomorrow!

The engine rebuild was delayed yet again. Our friend's machine shop realized that with the cam he wants to use we need adjustible rockers and new pushrods. More waiting. Probably no chance of getting it running until Spring now...

At least the interior is done!
1978 Buick Skyhawk - Buick 4.1 V6, THM-350C...
1979 Century Turbo Coupe - Buick High-compression 350, 200-R4 swap...
1988 Buick Lesabre T-type - L67 supercharged swap/4T60E-HD
1997 Riviera - L67/4T65E-HD
Z-type
 
Posts: 103
Joined: Wed Mar 21, 2012 4:06 pm
Location: Cecil, PA - about 25 miles south of Pittsburgh

Re: 1978 Skyhawk

Postby Z-type » Wed Oct 17, 2012 5:41 pm

Finally have a few shots of the front done/clean. I still have some little details left like getting new window crank clips, and painting the inner door handle trim. I also have to redo the silver trim on the top of the center console pieces, but I can do that any time.

Image

Image

Image


In other news, me and my dad took a few minutes and put on the new front shocks and sway bar links. Went a little rougher than I thought it would, but everything is on and tight! Now we're just waiting on the engine. Everything else is done for now...

Does anyone have suggestions on a rear end that would bolt right in, no mods? The engine is going to be a high compression Buick 350, so I want to make sure it would be a decent all-around driving rear end ratio. Thanks!
1978 Buick Skyhawk - Buick 4.1 V6, THM-350C...
1979 Century Turbo Coupe - Buick High-compression 350, 200-R4 swap...
1988 Buick Lesabre T-type - L67 supercharged swap/4T60E-HD
1997 Riviera - L67/4T65E-HD
Z-type
 
Posts: 103
Joined: Wed Mar 21, 2012 4:06 pm
Location: Cecil, PA - about 25 miles south of Pittsburgh

Re: 1978 Skyhawk

Postby Z-type » Sun Nov 18, 2012 7:47 pm

Hey all,

Finally got the engine back! I have a few pics to share, for fun.

Image

Image

Image

Image

Image

Image

We did find a good set of exhaust manifolds. I know there is an issue with the steering shaft and these 350 manifolds but we'll burn that bridge when we come to it.
Image

Also, a nice little tidbit for all your Skyhawk fans - two things in this picture. The lower emblem is a BRAND NEW reproduction emblem. Came as a set of three, and they look perfect - matching my originals (which are very faded). Secondly, when we got our Skyhawk the rear hatch emblem was missing, but the lower hinge part of the cover was on the car. Amazingly, I actually was able to get a hold of the TOP portion of the emblem! It's a little busted up, but the fact is it's correct. I'll make it work.
Image

That's all for now - no telling when the engine is going in. I need to get some manifold bolts and bellhousing bolts.
1978 Buick Skyhawk - Buick 4.1 V6, THM-350C...
1979 Century Turbo Coupe - Buick High-compression 350, 200-R4 swap...
1988 Buick Lesabre T-type - L67 supercharged swap/4T60E-HD
1997 Riviera - L67/4T65E-HD
Z-type
 
Posts: 103
Joined: Wed Mar 21, 2012 4:06 pm
Location: Cecil, PA - about 25 miles south of Pittsburgh

Re: 1978 Skyhawk

Postby johnk » Tue Nov 20, 2012 12:40 am

Nice a lot of work. My 77 Monza looks like yours did before you started hope mine comes out as good. You said you painted the interior plastic with firethorn red which is the same as my interior where did you get it? :th:
JohnK
John K
User avatar
johnk
 
Posts: 84
Joined: Thu Oct 20, 2011 10:58 pm
Location: Atlanta, GA

Re: 1978 Skyhawk

Postby gerbsinmd » Tue Nov 20, 2012 9:40 am

I get my Firethorn red from Eastwood.com. I have a Mirage as well with that interior.
1999 Saturn SL2
2017 Cruze Hatchback
2008 Town & Country - Family transport
2018 Cruze - 35mpg - avg, 49.7mpg - best so far.
2011 Impala - commuter
RIP-2002 Saturn SL2 Commuter car - burned a valve @ 234k miles

1977 Monza Mirage being Restified!!
User avatar
gerbsinmd
 
Posts: 2062
Joined: Mon Jun 26, 2006 2:48 pm
Location: Dunkirk, MD

1977 Chevrolet Monza Mirage

Re: 1978 Skyhawk

Postby Z-type » Tue Nov 20, 2012 7:03 pm

Thanks guys! I used SEM's paint/dye. I got it from Amazon.com and the part number for Firethorn Red is SEM15113. It is exactly the same color as original, as denoted by some non-faded spots on my panels :D . There's a nice tutorial in the Restorations section of this board I believe that tells you how to properly prep the old plastic. Worked really well for me! It's pretty sturdy stuff.

I like the hatch window vents, or louvers or whatever they're referred to. My dad and I have been toying with the idea of finding a set for the Skyhawk.
1978 Buick Skyhawk - Buick 4.1 V6, THM-350C...
1979 Century Turbo Coupe - Buick High-compression 350, 200-R4 swap...
1988 Buick Lesabre T-type - L67 supercharged swap/4T60E-HD
1997 Riviera - L67/4T65E-HD
Z-type
 
Posts: 103
Joined: Wed Mar 21, 2012 4:06 pm
Location: Cecil, PA - about 25 miles south of Pittsburgh

Re: 1978 Skyhawk

Postby Z-type » Thu Dec 06, 2012 9:43 pm

We did a test fit of the 350 yesterday! Short story, the engine isn't in yet. As was noted in the forums here, a certain driver's side manifold would be needed...turns out, it's true. It's hitting the steering shaft pretty good. I'm already on the hunt for a 350 driver's side manifold from '76-'79. We decided to try it anyway.

Engine all prepped to test fit.
Image

Image

Image

Cleaned the garage a little to make room to maneuver this thing around.
Image

Jacked up the trans.
Image

Let's do this!
Image

Image

Got to this point pretty quickly.
Image

Originally we had the frame pads on the frame, but they were getting in the way so we decided to loosely bolt them to the engine mounts. Also, at this point, we discovered the torque converter was sticking out about 2" too far. Oops lol. Fixed all that and went for another go.
Image

Image

Image


So, when we did that we got the engine ALMOST all the way in. That's when we confirmed the incorrect manifold issue. Other than that, everything else looks like it's going to go pretty nicely. We still need to get a starter for it and re-route and figure out a little bit of the wiring. And a radiator. I don't know how much progress we're going to be making seeing as it's December, but I'll update when I can!
Image

-Andrew Z
1978 Buick Skyhawk - Buick 4.1 V6, THM-350C...
1979 Century Turbo Coupe - Buick High-compression 350, 200-R4 swap...
1988 Buick Lesabre T-type - L67 supercharged swap/4T60E-HD
1997 Riviera - L67/4T65E-HD
Z-type
 
Posts: 103
Joined: Wed Mar 21, 2012 4:06 pm
Location: Cecil, PA - about 25 miles south of Pittsburgh

Re: 1978 Skyhawk

Postby Z-type » Thu Jan 24, 2013 1:32 pm

Good news! I was able to track down a manifold. This one is off of a '77 Regal. Casting number (B)1246669 .

Image


Too cold to paint anything, but at least we have the correct manifold now!Maybe if it gets warmer we'll bolt it on and do another engine test-fit, we'll see! We also FINALLY had the T/A 350 intake manifold delivered. It's an awesome piece of engineering!
1978 Buick Skyhawk - Buick 4.1 V6, THM-350C...
1979 Century Turbo Coupe - Buick High-compression 350, 200-R4 swap...
1988 Buick Lesabre T-type - L67 supercharged swap/4T60E-HD
1997 Riviera - L67/4T65E-HD
Z-type
 
Posts: 103
Joined: Wed Mar 21, 2012 4:06 pm
Location: Cecil, PA - about 25 miles south of Pittsburgh

Re: 1978 Skyhawk

Postby sportriderok » Thu Jan 24, 2013 5:26 pm

Glad to see you are making progress. Parts hunting for these cars can be exhausting! Now, how about some details on that Century coupe? I've wanted one of those (or the Olds version) forever.
User avatar
sportriderok
 
Posts: 388
Joined: Fri Dec 23, 2011 7:10 pm
Location: Mannford, Oklahoma

1977 Chevrolet Monza Sport Coupe

Re: 1978 Skyhawk

Postby Z-type » Thu Mar 07, 2013 7:15 pm

Hey Sportrider! The Century Turbo Coupe is a '79. My dad bought it back in....'98 or '99 I think. He restored it, sold it to my uncle, and my uncle basically let it go to crap. And then destroyed the bumper and grille with a pine tree...It then sat on our property for 6 years before we convinced him to sell it to us, and now we own it again. We've been parts hunting for that car like we do with the Skyhawk, and neither car is easy to find parts for AT ALL. We have a new grille and NOS bumper, and have replaced all 4 shocks and rear springs. We also cleaned up the engine and changed a lot of gaskets and maintenance stuff. It starts, runs, and drives perfect, but it's not road legal because of the front end. The interior basically needs replaced too...mice...

Luckily, that interior is the same as the Regals from '78-87 so replacing it should be easy! Just not cheap..


Anyway back to the Skyhawk! I have no real updates, per se. I've been parts hunting as mentioned before for a while and me and dad have decided to do the S10 suspension component swap. We have a rear end from a '94, and will get front spindles and whatnot out of the junk yard soon. We have also ordered a 200R4 transmission for it, and i think we're going to have John Chamberlain install it so he can fab up a new cross member. That's all for now!
1978 Buick Skyhawk - Buick 4.1 V6, THM-350C...
1979 Century Turbo Coupe - Buick High-compression 350, 200-R4 swap...
1988 Buick Lesabre T-type - L67 supercharged swap/4T60E-HD
1997 Riviera - L67/4T65E-HD
Z-type
 
Posts: 103
Joined: Wed Mar 21, 2012 4:06 pm
Location: Cecil, PA - about 25 miles south of Pittsburgh

Next

Return to Project Journals

Who is online

Users browsing this forum: No registered users and 9 guests